Home Assistant Integration
Prerequisite
1️⃣ Home Assistant environment
Home Assistant has been installed in accordance with the official installation guide.
2️⃣ Same local network
Devices and Home Assistant server are on the same local network.
3️⃣ Obtain the device IP address
Indevolt device is powered on and has obtained an IP address. Choose any one of the following methods to get IP address:
🧩 Method 1 – Check Router
Log in to your router. Find the device IP in the connected device list.
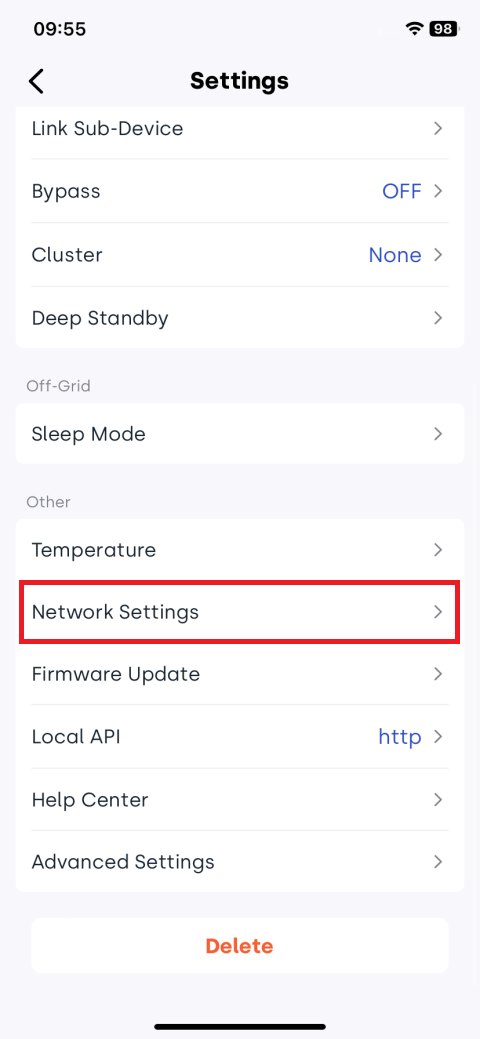
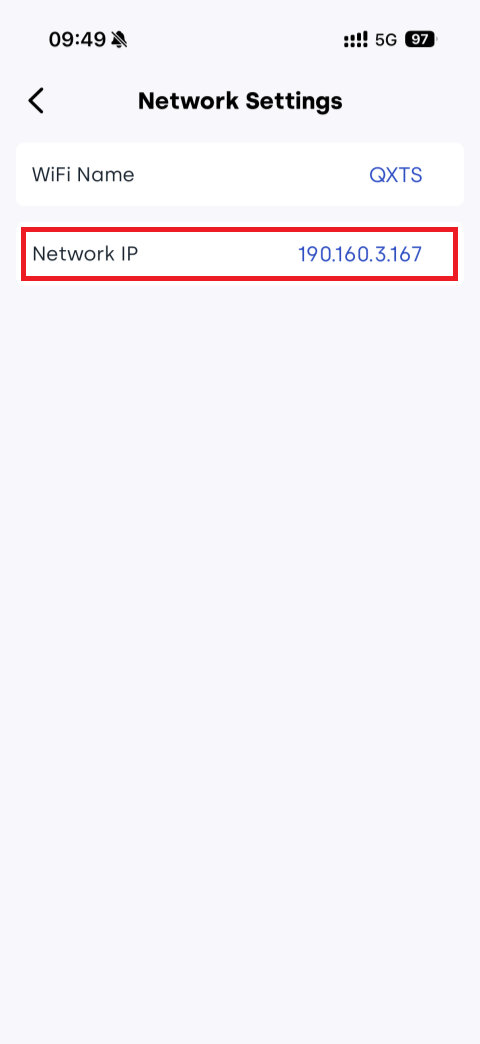
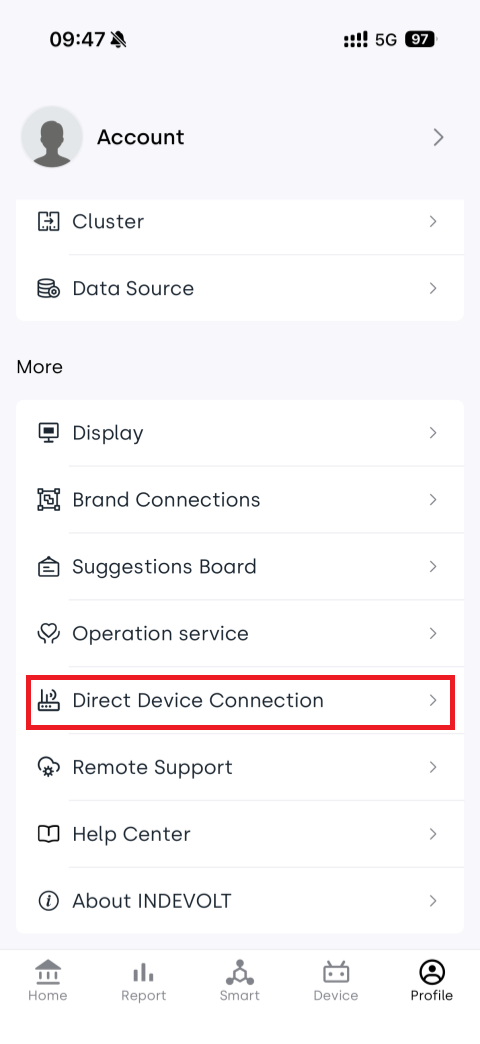
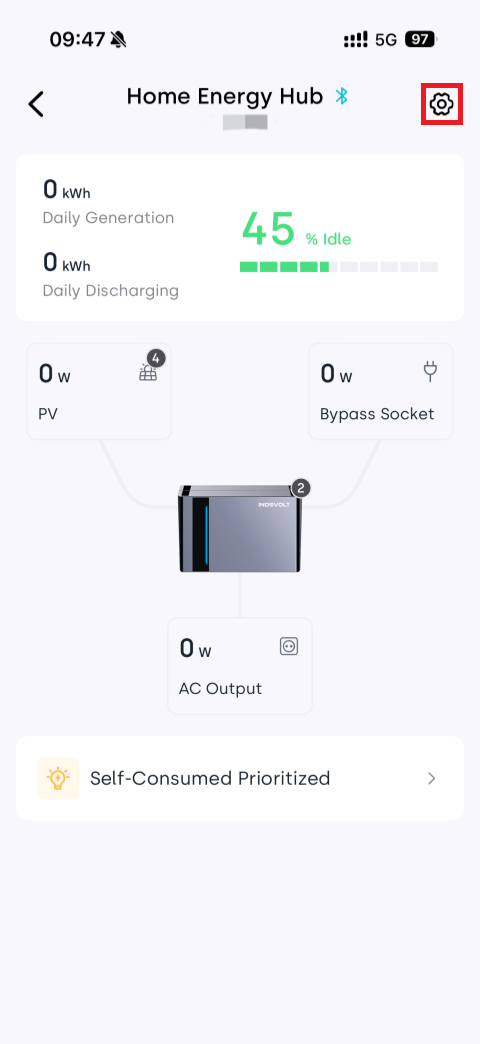
🧩 Method 2 – Check in INDEVOLT App
Check in App device settings:
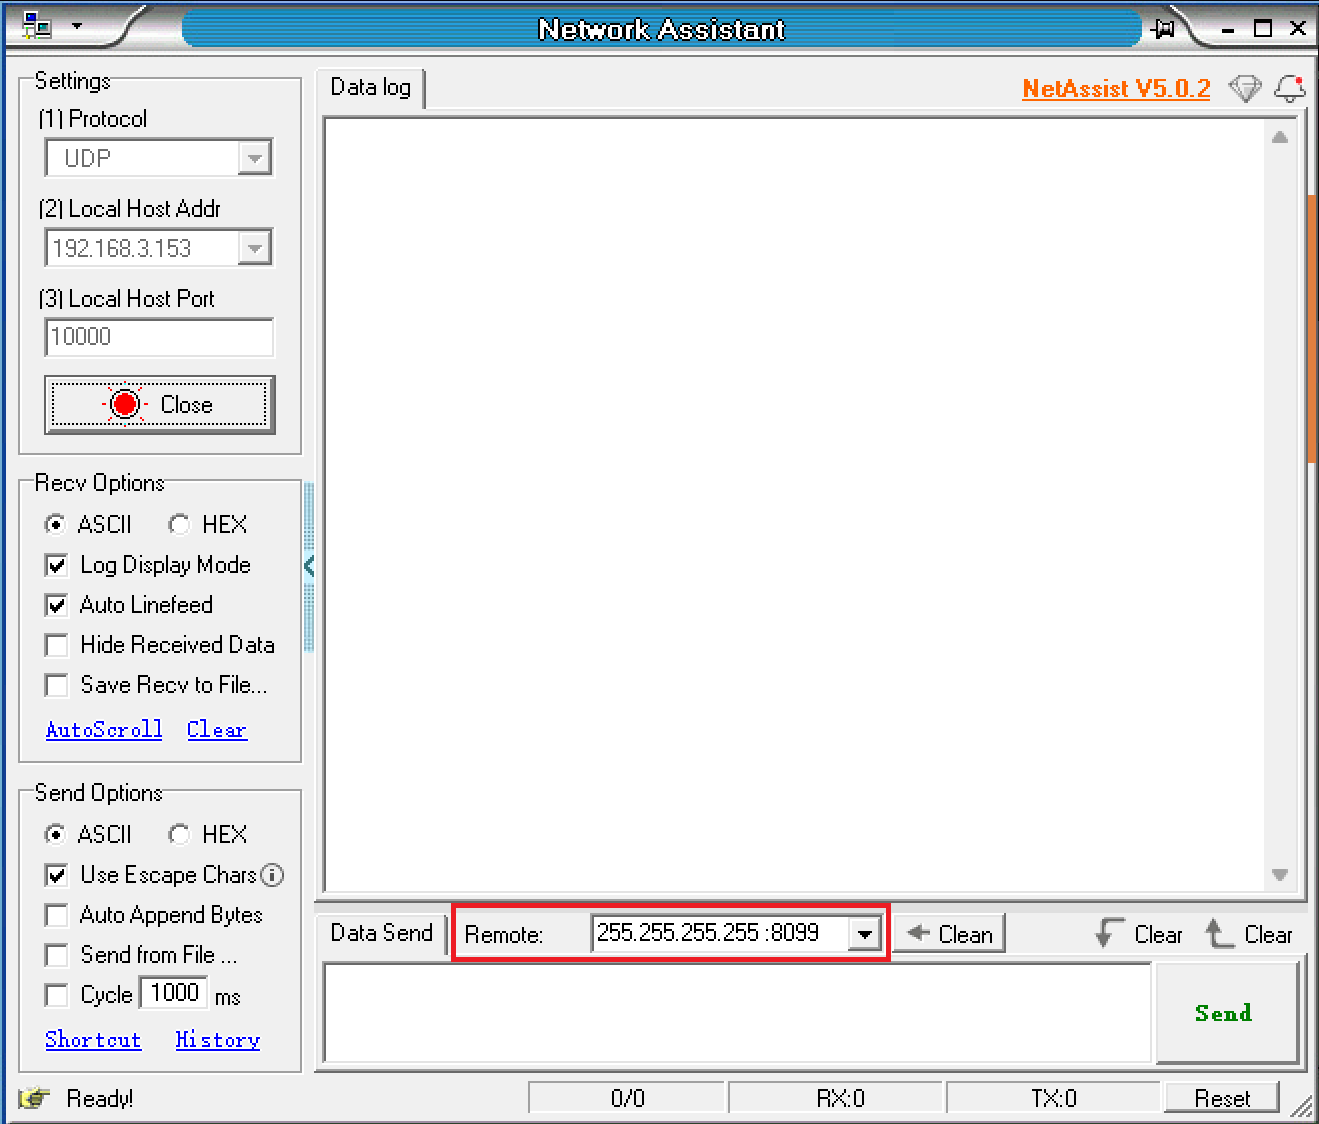
🧩Method 3: Obtain IP via UDP broadcast
-
Ensure the device's WiFi network and computer are on the same local area network.
-
Open a network debugging tool.
-
Select UDP protocol.
-
Select Local Host Addr.
-
Set Local Host Port to 10000.
-
Click Open.

-
Configure Remote with broadcast address and port: 255.255.255.255:8099.
-
Enter AT command in message box: AT+IGDEVICEIP.
-
Click Send.

-
INDEVOLT devices on the same network will respond with their IP address and serial number (SN).

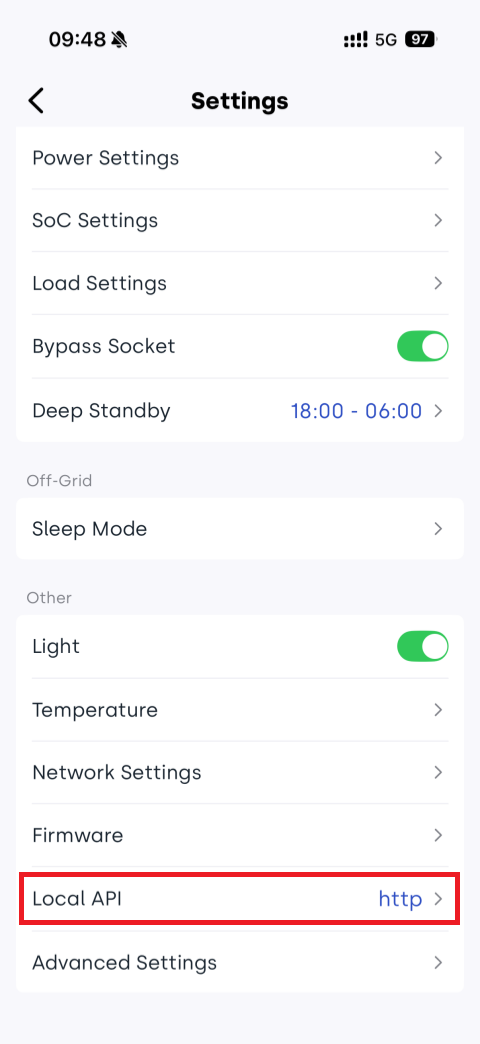
4️⃣ Enable Local API
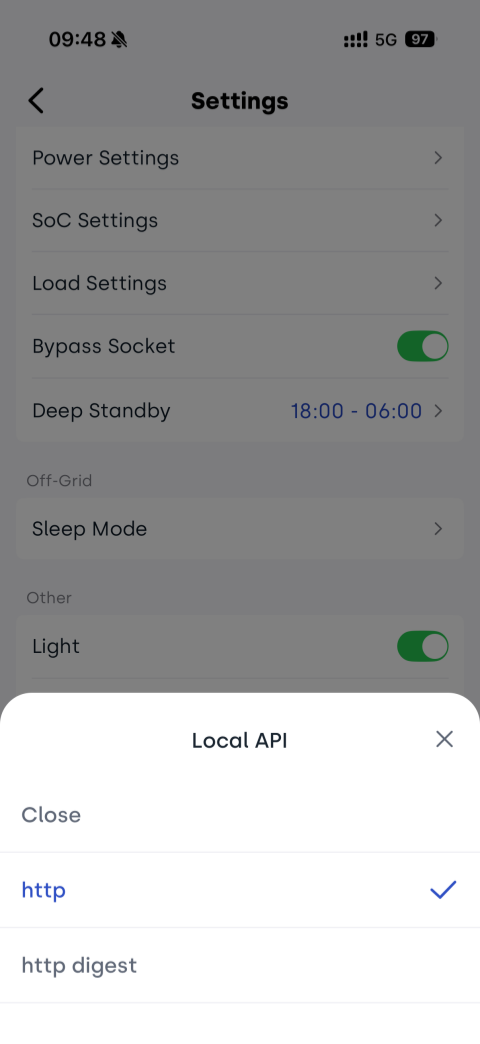
Ensure the Indevolt device local API is enabled. OpenData provides three modes, but this integration only supports the HTTP method.
- HTTP
- HTTP Digest
- HTTPS (Currently unsupported, coming soon)
You can configure the local API in the INDEVOLT App:

5️⃣ Firmware requirement
Ensure device firmware version meets or exceeds the minimum version listed in the table below.
| Model | Minimum applicable firmware version |
|---|---|
| BK1600 / BK1600 Ultra | V1.3.0A_R006.072_M4848_00000039 |
| SolidFlex 2000 / PowerFlex 2000 | CMS:V1406.07.002E |
Step 1: Download the Indevolt Integration File
-
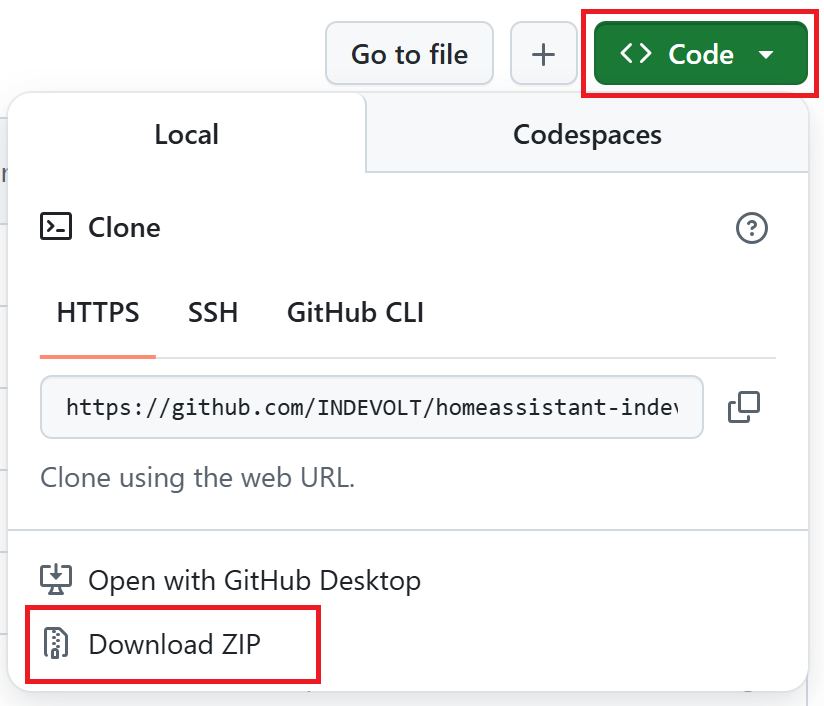
Access the GitHub repository.
-
Click Code > Download ZIP.
-
Extract the ZIP file to your computer.
Step 2: Locate the HA configuration directory path
- Home Assistant OS:Please ensure the configuration directory exists at
/config. - Home Assistant Container:The configuration directory can be uniquely identified by the
configuration.yamlfile.
The directory must include the configuration.yaml file to proceed.
configuration directory/
└── configuration.yaml
Step 3: Create the Custom Integration Directory
- Navigate to the config directory.
- Create the
custom_componentsdirectory (if it does not already exist).
config directory/
├── custom_components/
└── configuration.yaml
All custom integrations must be placed under the custom_components directory. Otherwise, Home Assistant will fail to recognize them.
Step 4: Add the Integration File
Copy the entire extracted indevolt folder to the custom_components directory.
config directory/
└── custom_components/
    ├── indevolt/
       ├── __init__.py
       ├── manifest.json
       ├── ...
Step 5: Restart Home Assistant
-
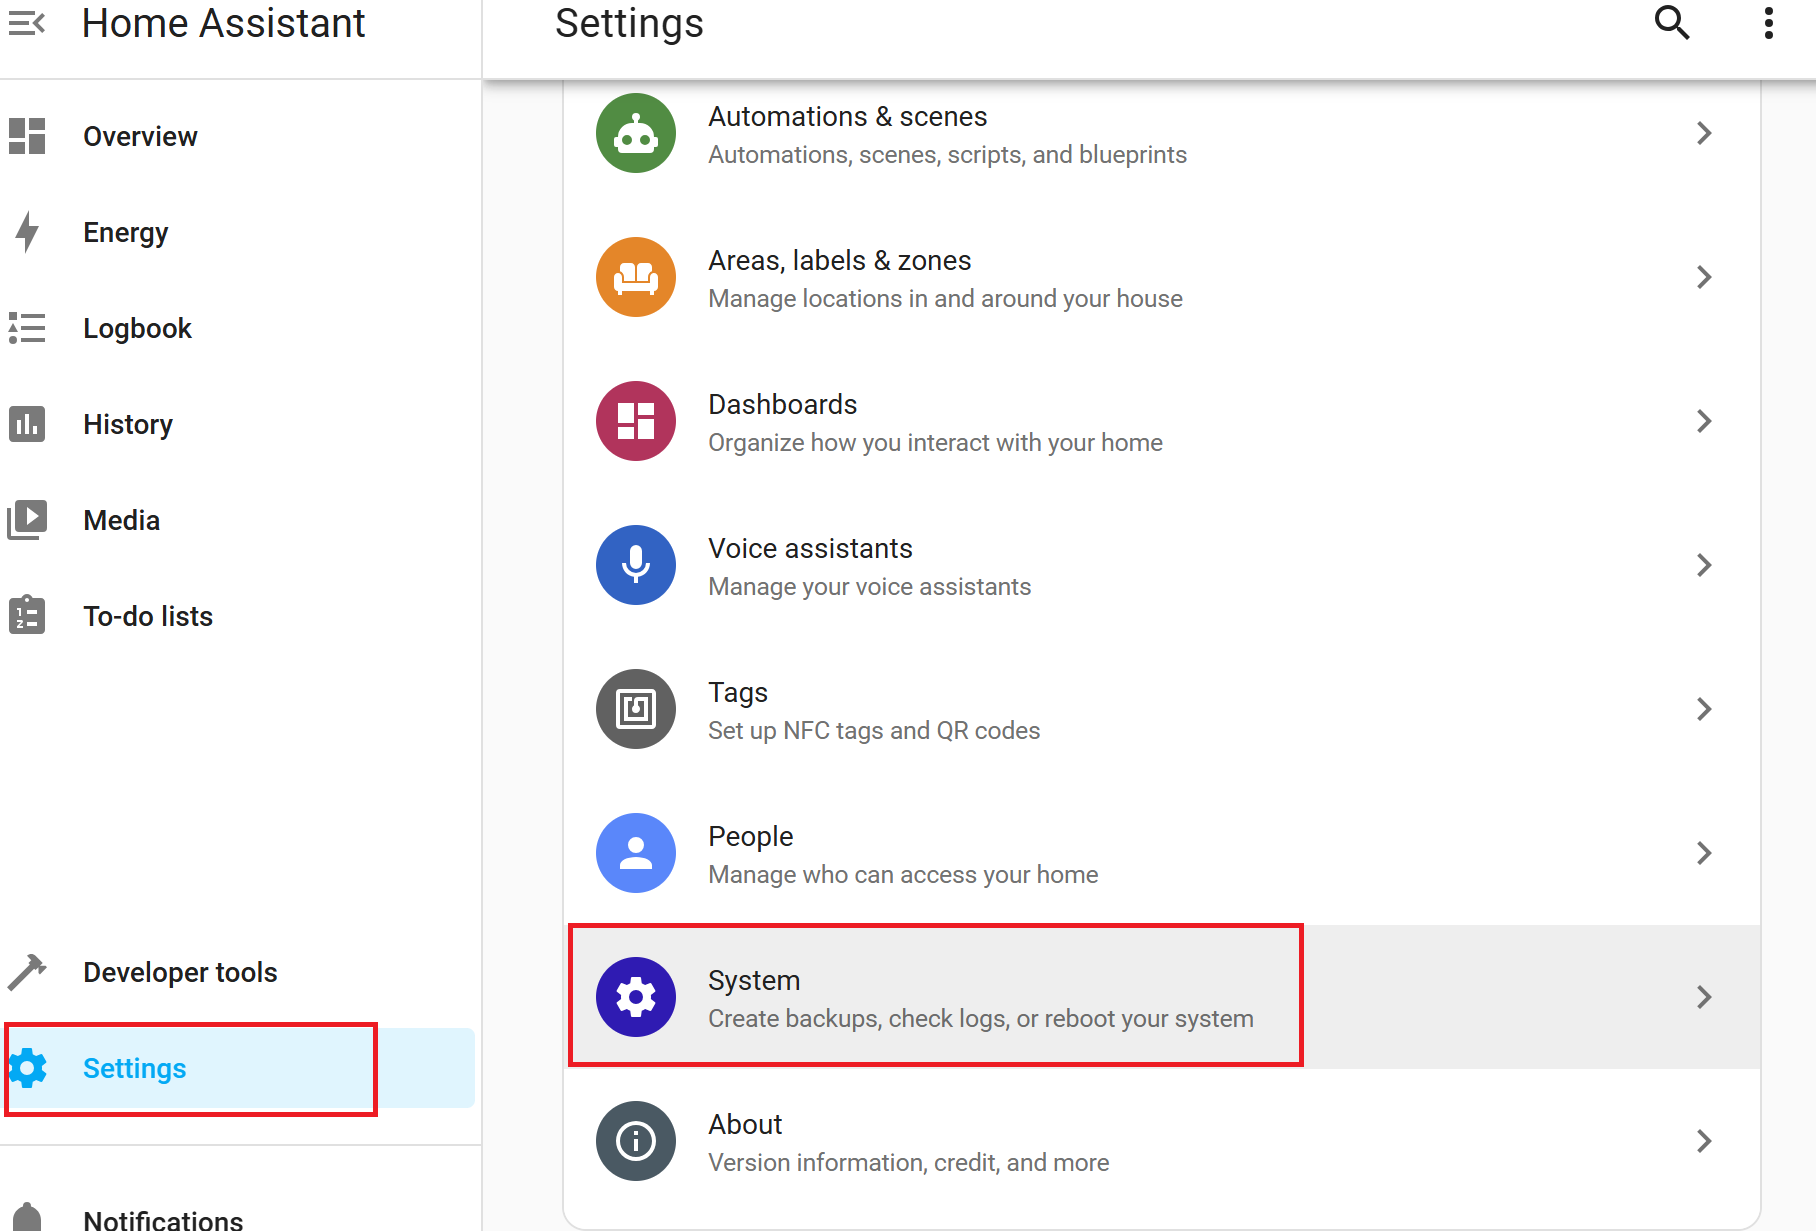
In the Web Interface, navigate to Settings > System.
-
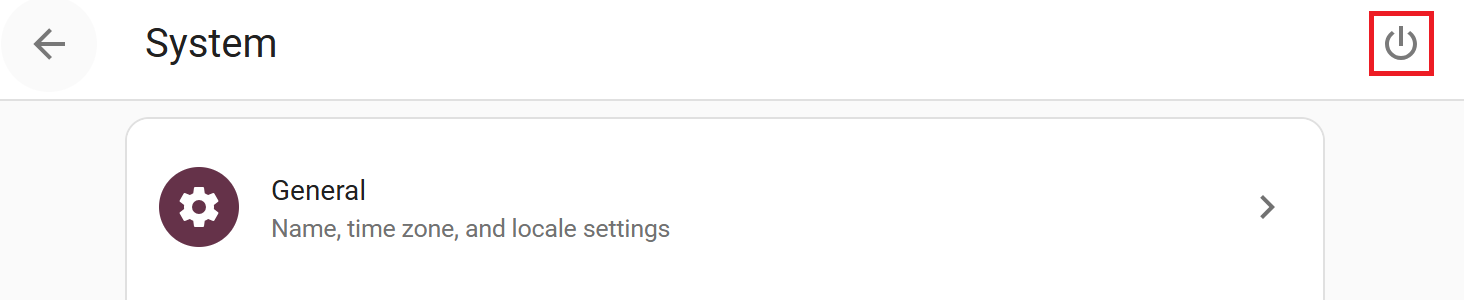
Click the restart icon in the upper right corner.
-
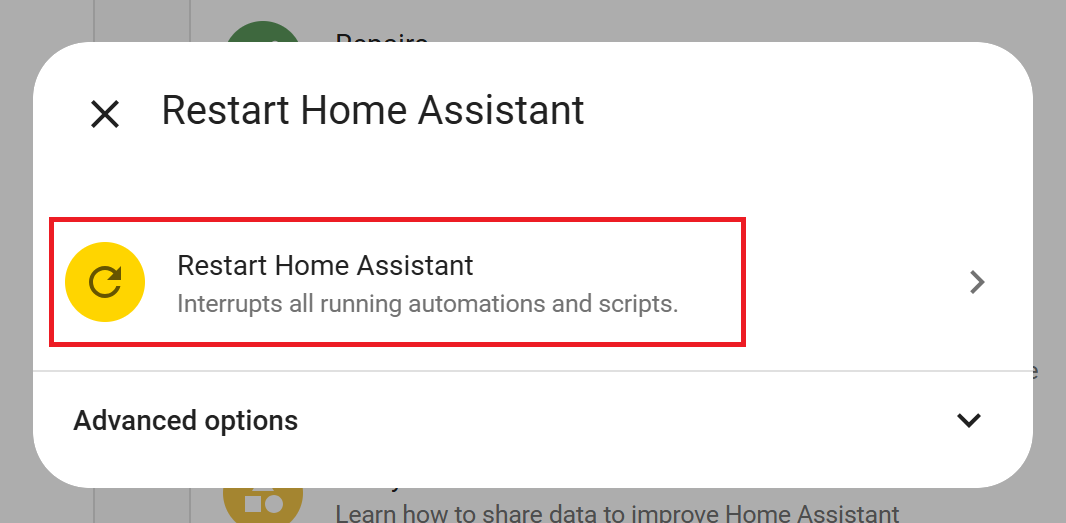
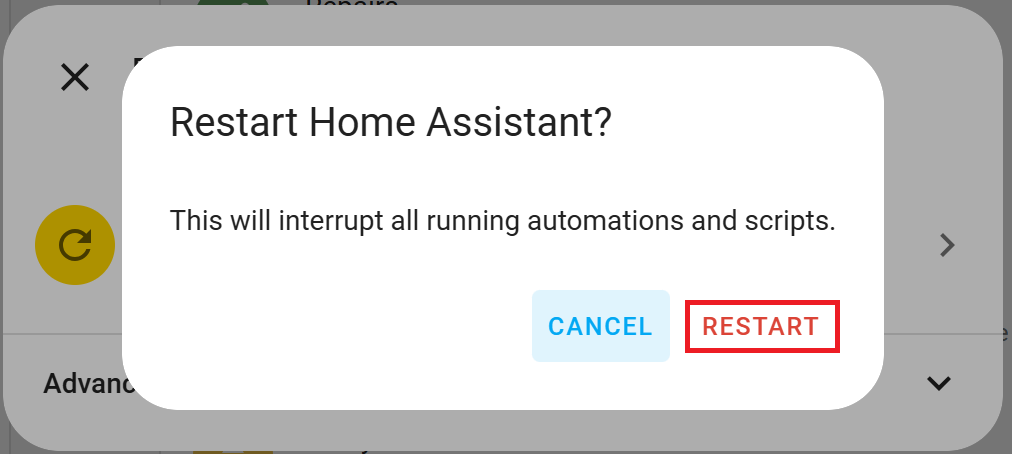
Click Restart Home Assistant.
-
Click RESTART.
Step 6: Add the Integration to Home Assistant
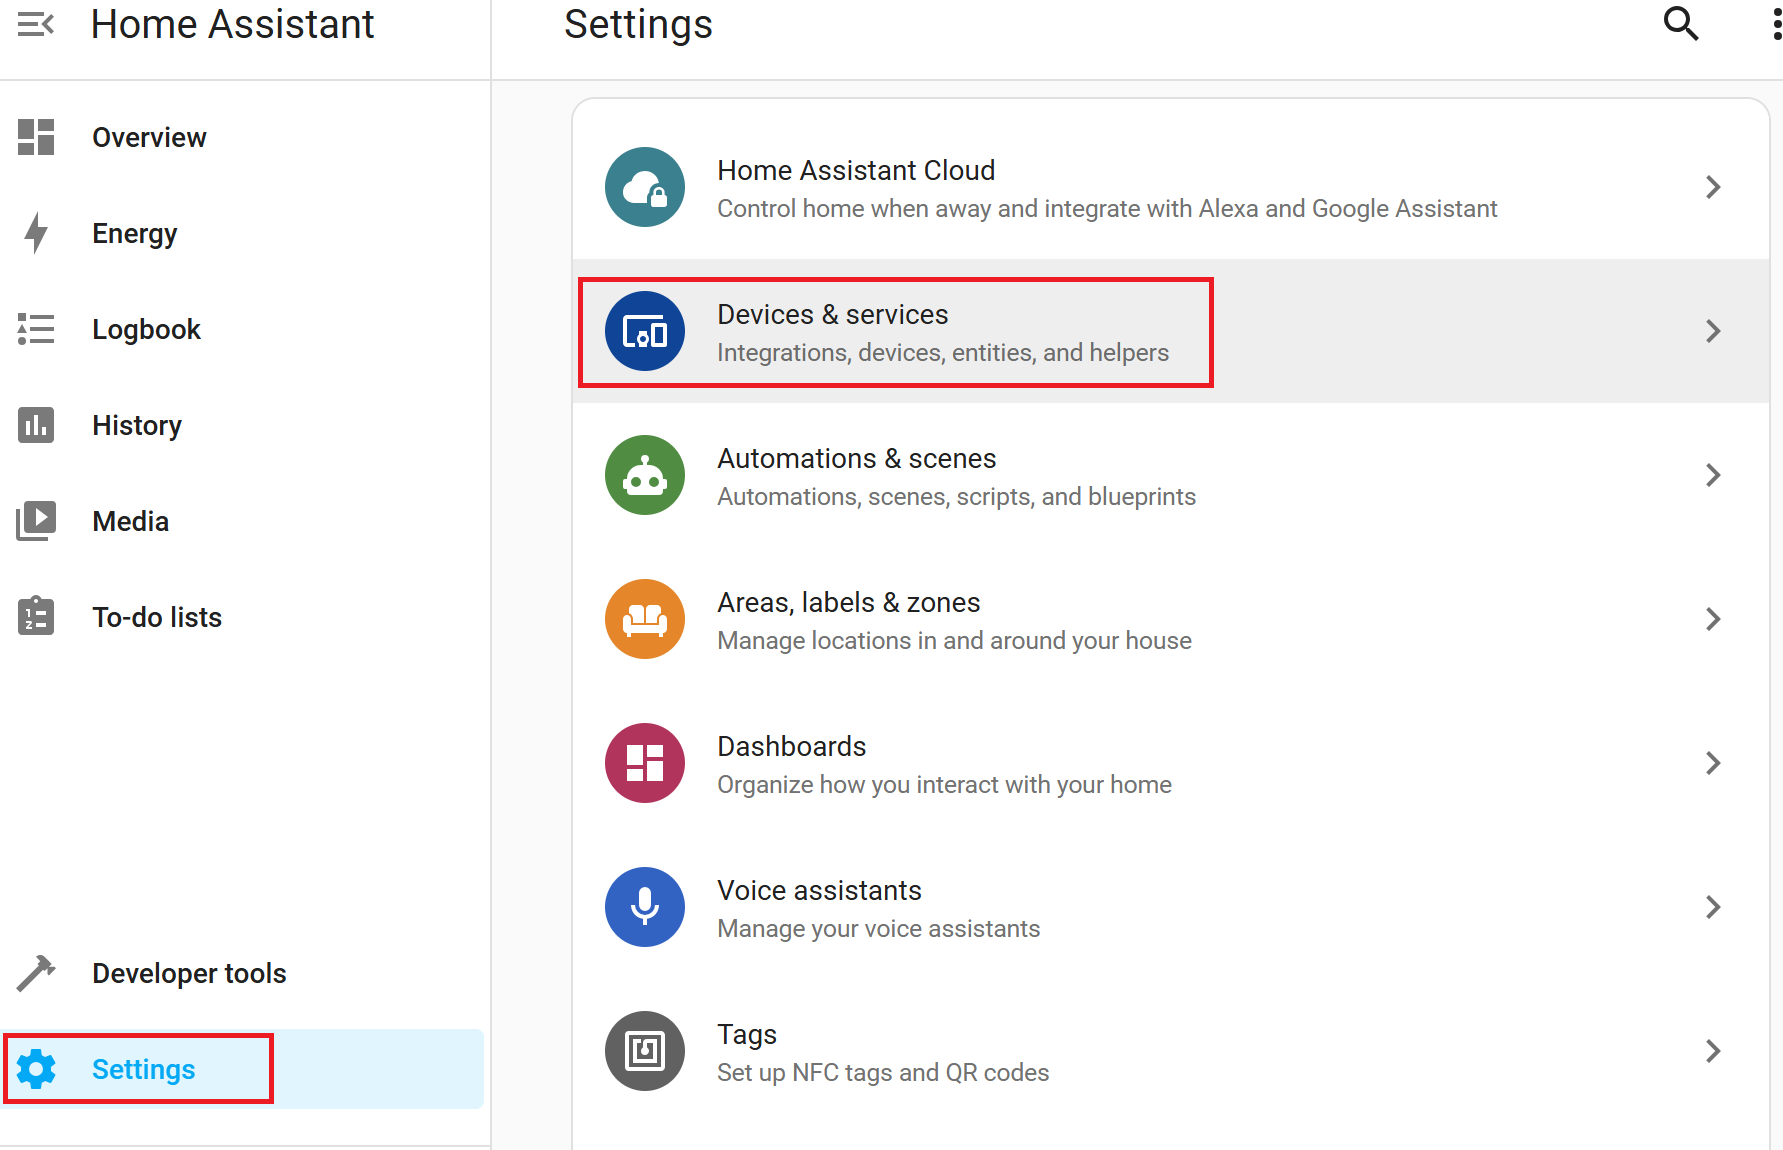
-
After restarting, access the Web Interface and navigate to Settings > Devices & Services.
-
Click the button in the lower right corner +ADD INTEGRATION.

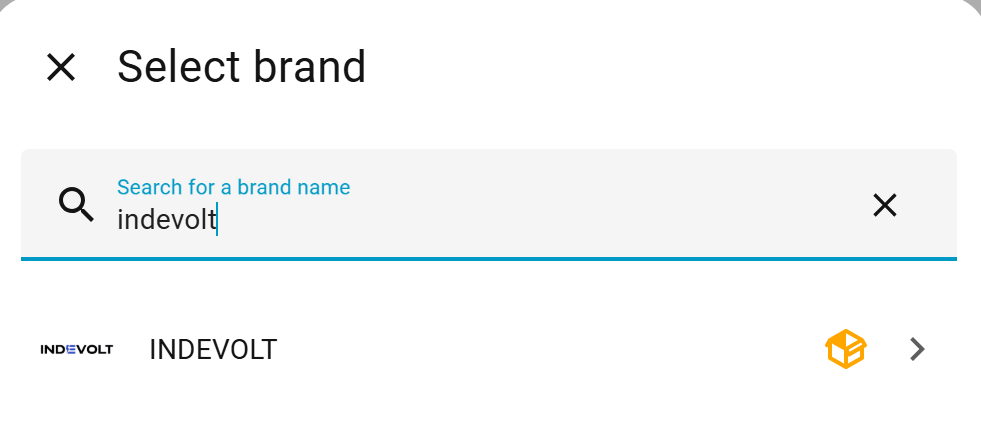
-
Search for the Integration indevolt.
-
Configure Parameters:
- host: The device IP address can be obtained by checking the router or the companion app.
- scan_interval: Used to control the data update frequency. The recommended setting is 5–30 seconds, with a default value of 30 seconds.
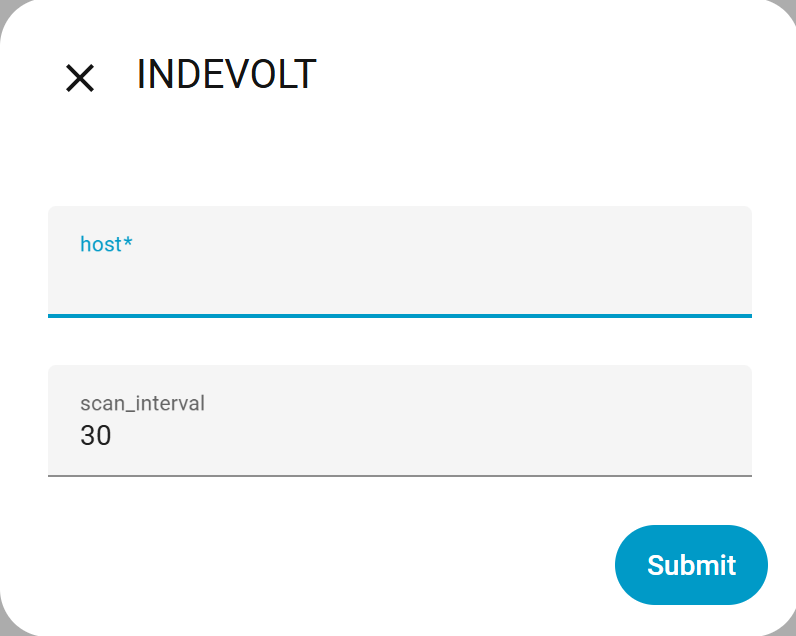
-
Click Submit to complete the installation.
-
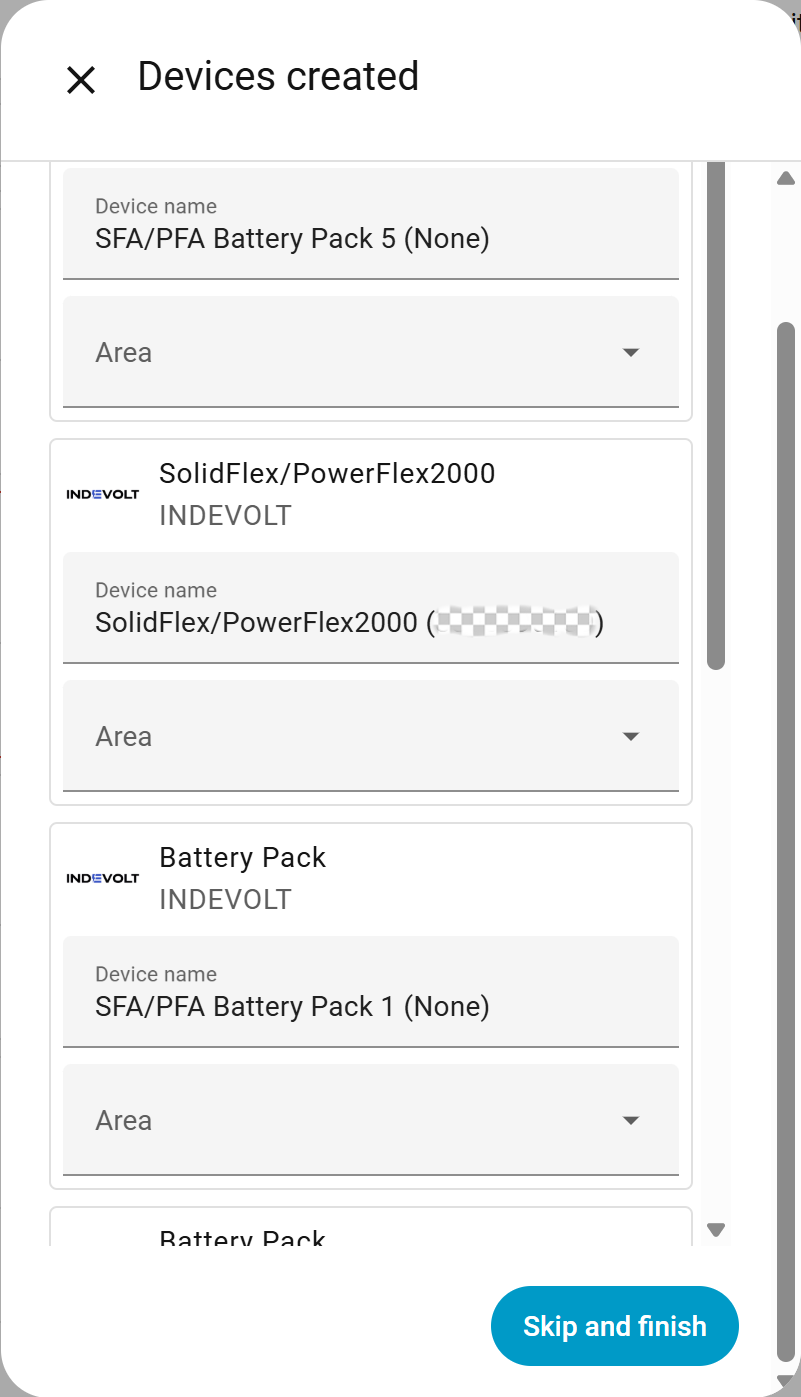
The power module and battery packs will be displayed after installation. Click Skip and Finish to complete the setup process.
- Each power module supports up to 5 battery packs.
- If no battery pack is connected, the corresponding field will be shown as None.
- When battery packs are connected, the serial number (SN) of each battery pack will be displayed for identification.
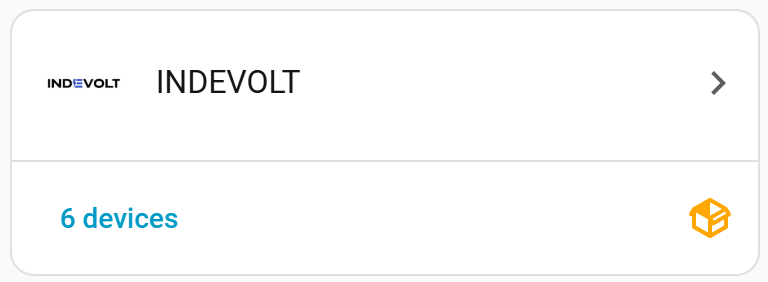
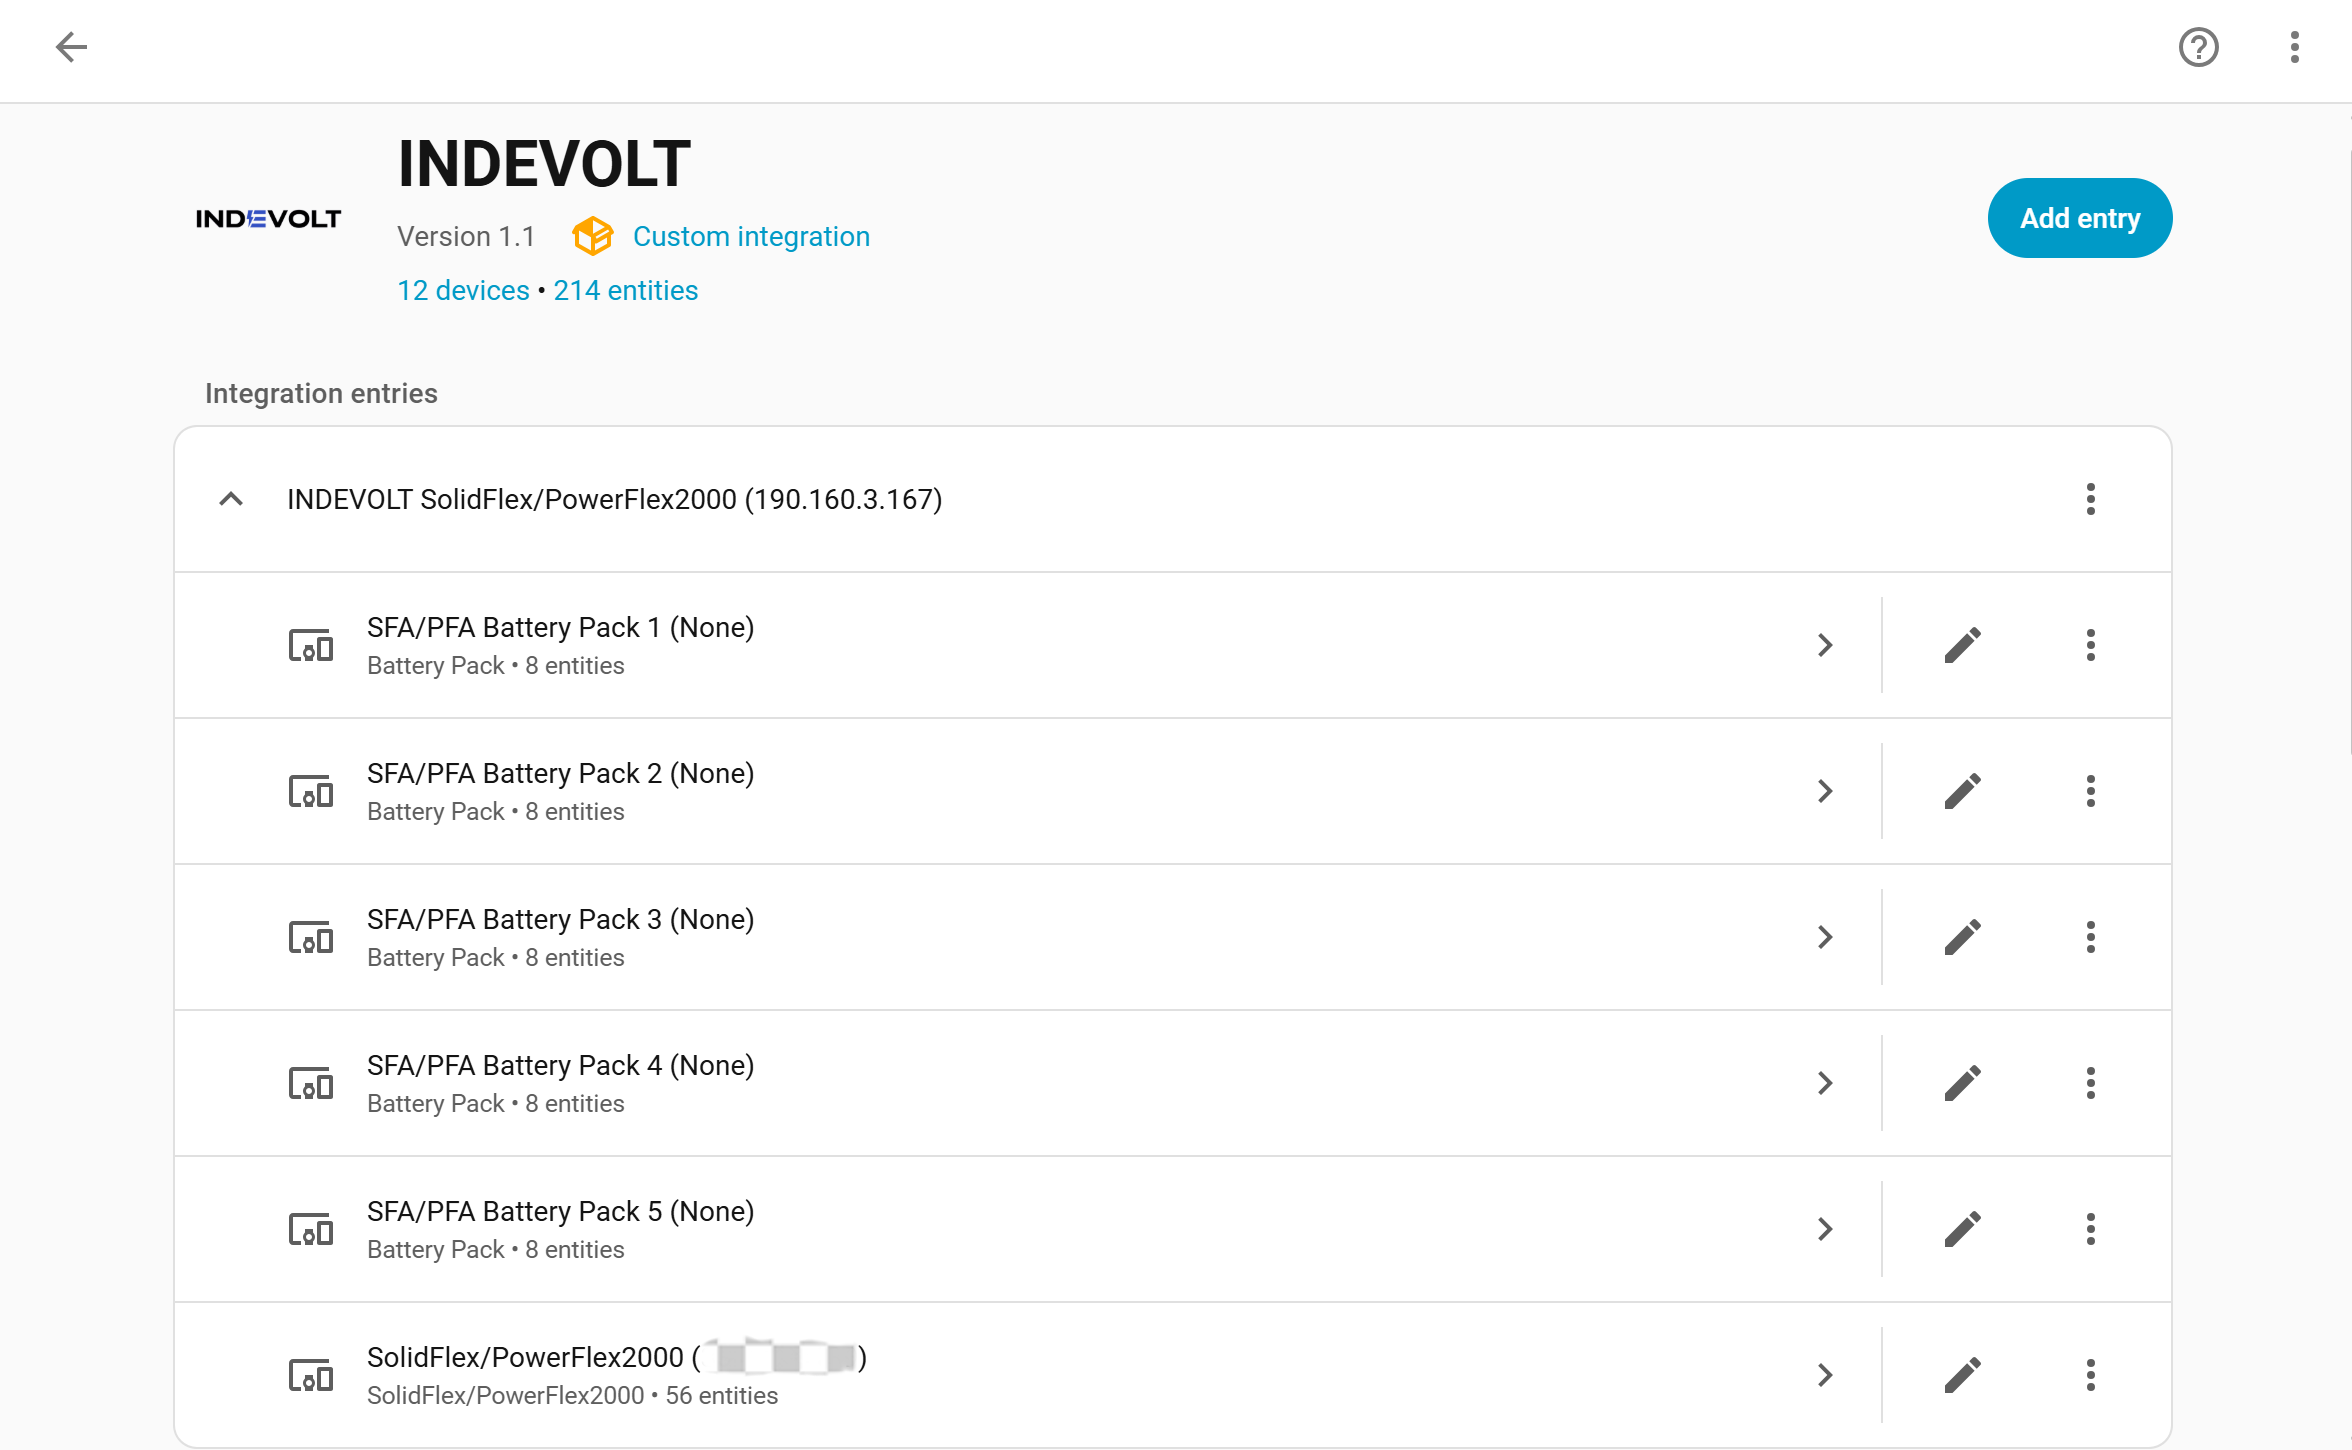
View Integration
Select the INDEVOLT integration. Upon successful installation, device and entity information will be displayed.
Update Integration
- Download the latest version of the integration package.
- Overwrite the files in the
custom_components/indevoltdirectory. - Click the three-dot menu next to the previously added device and select Delete.
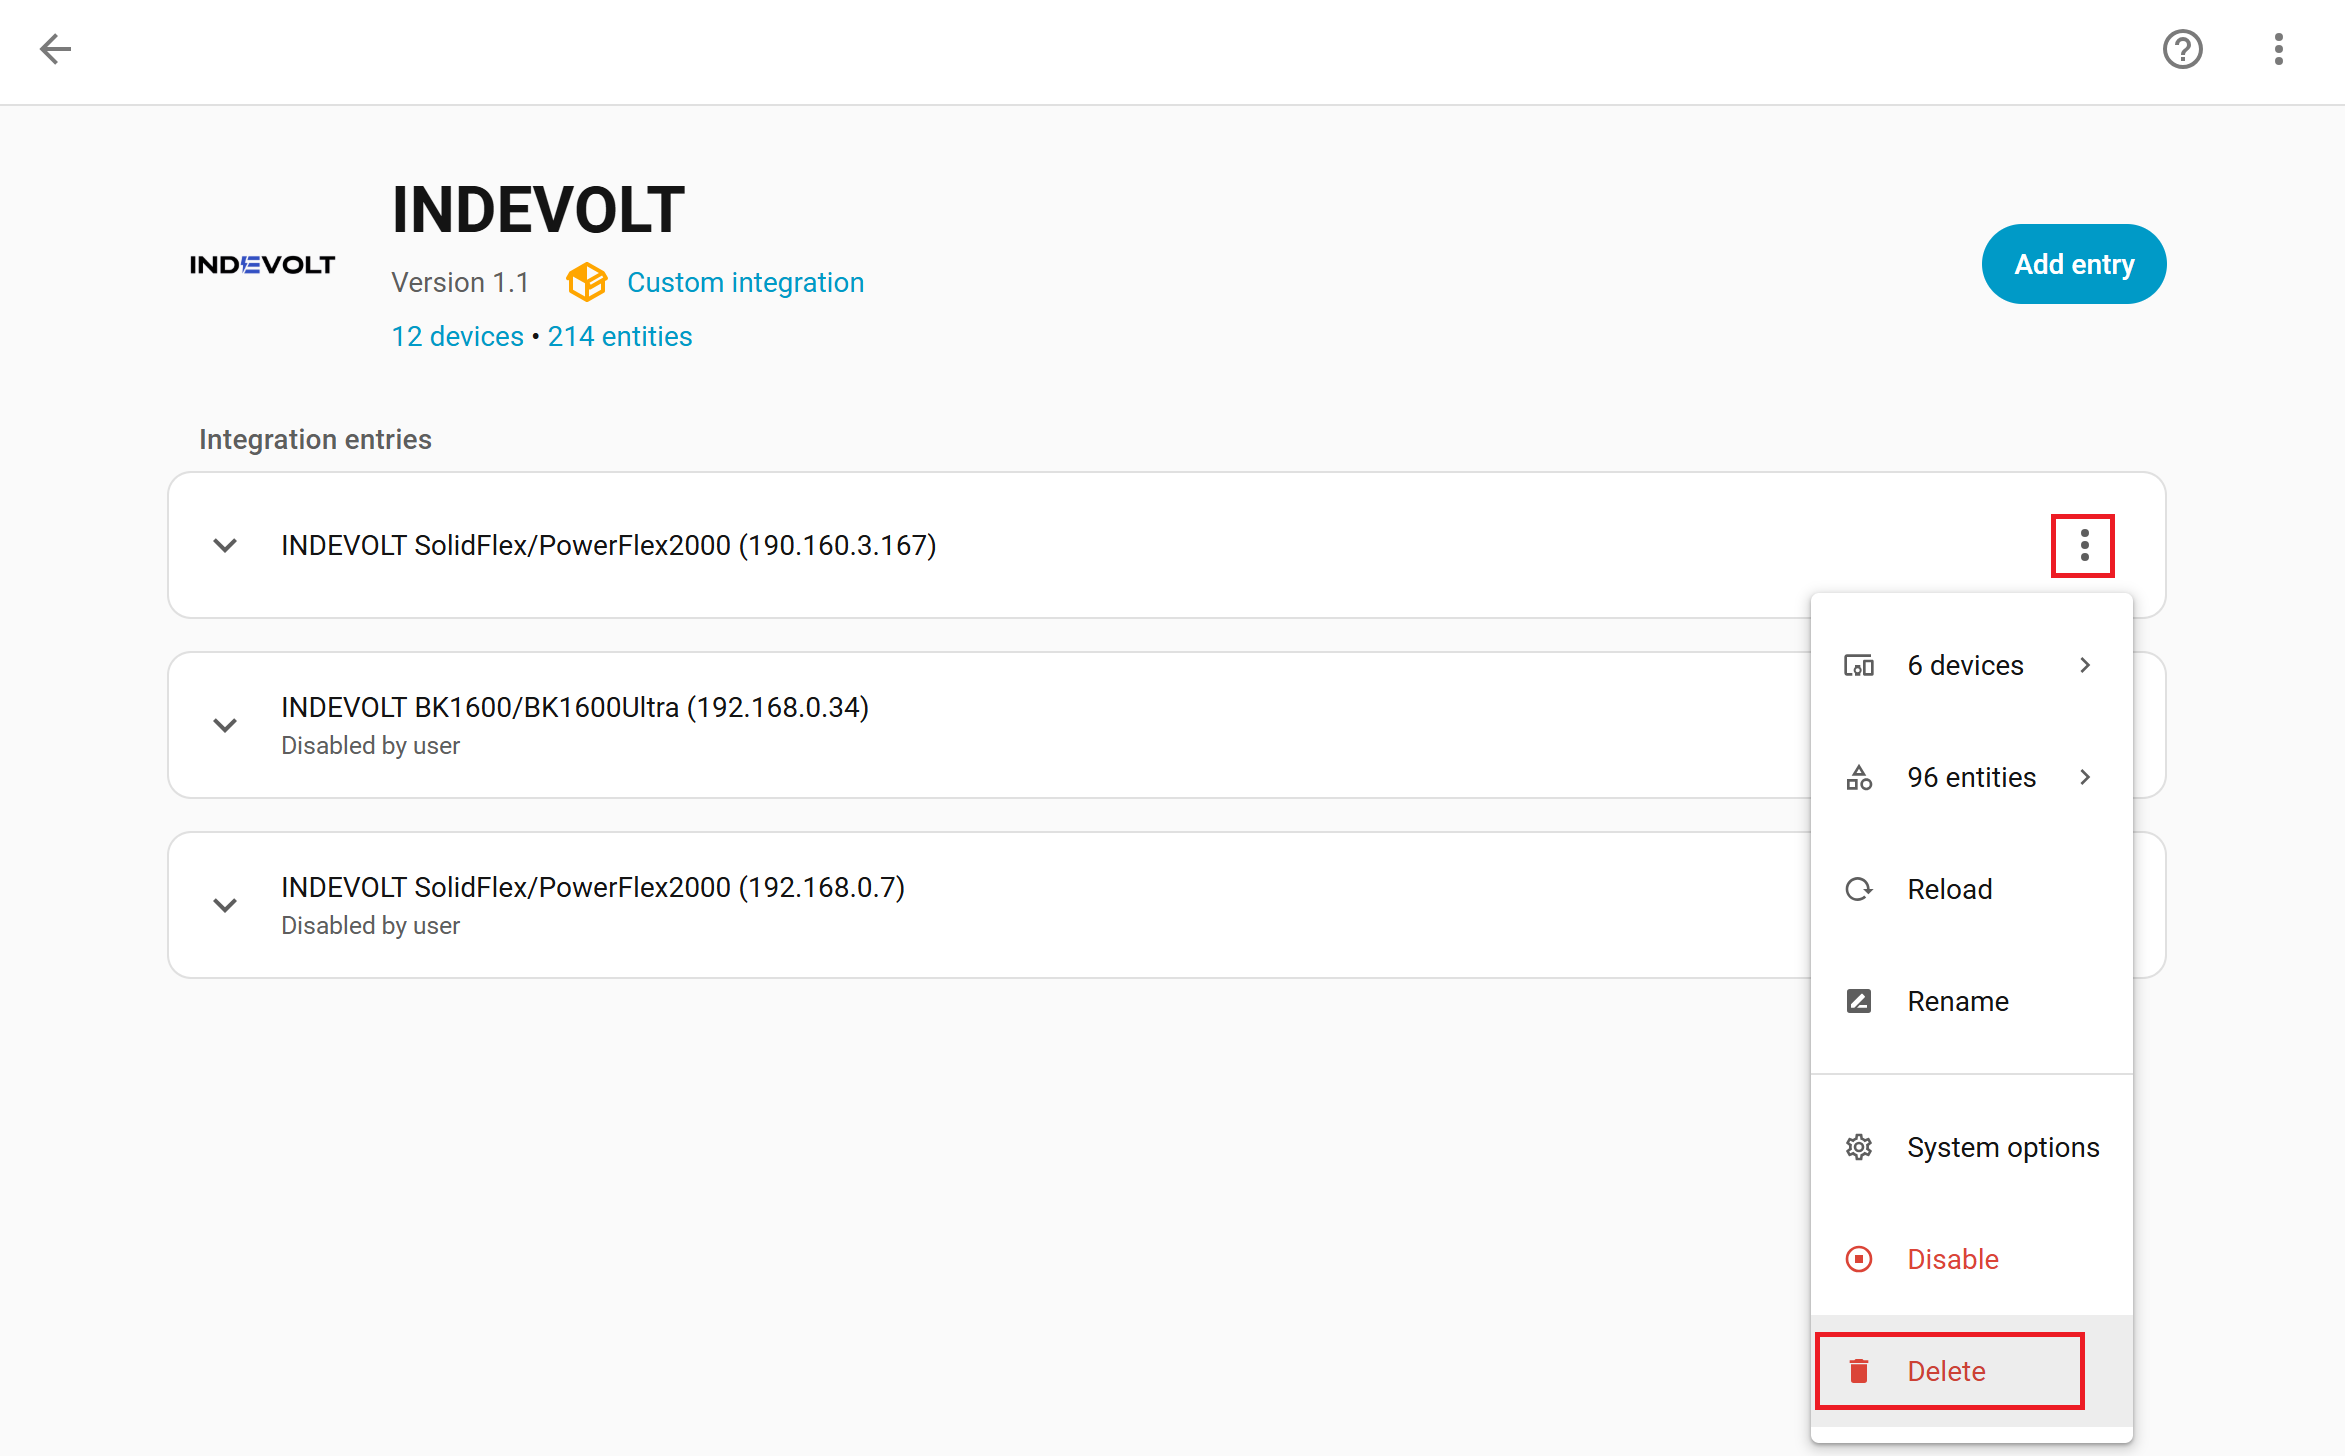
- Restart Home Assistant.
- Click the button Add Entry and follow the same device setup process to add the device again.
Create Automation: Set Real-Time Control
-
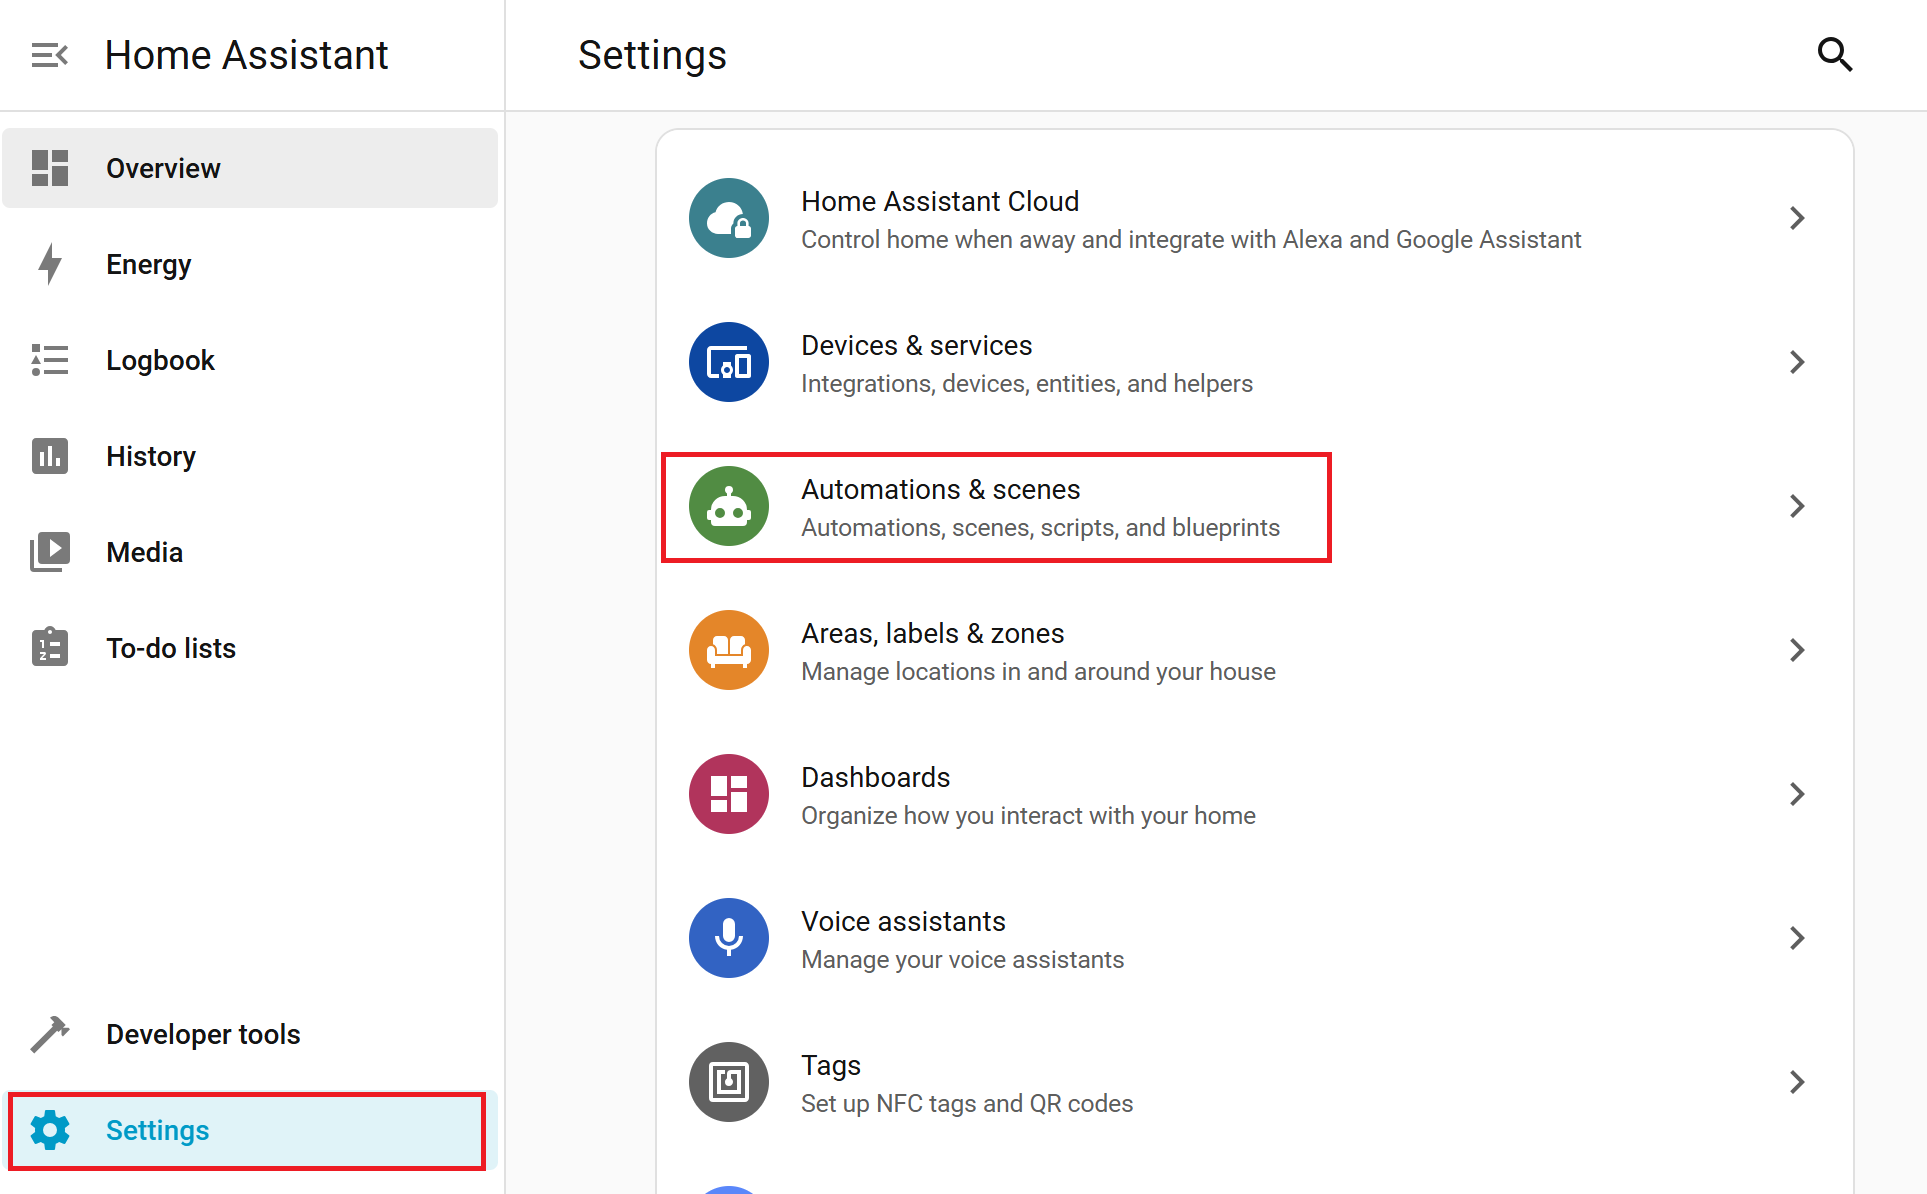
Go to Settings > Automations & scenes.
-
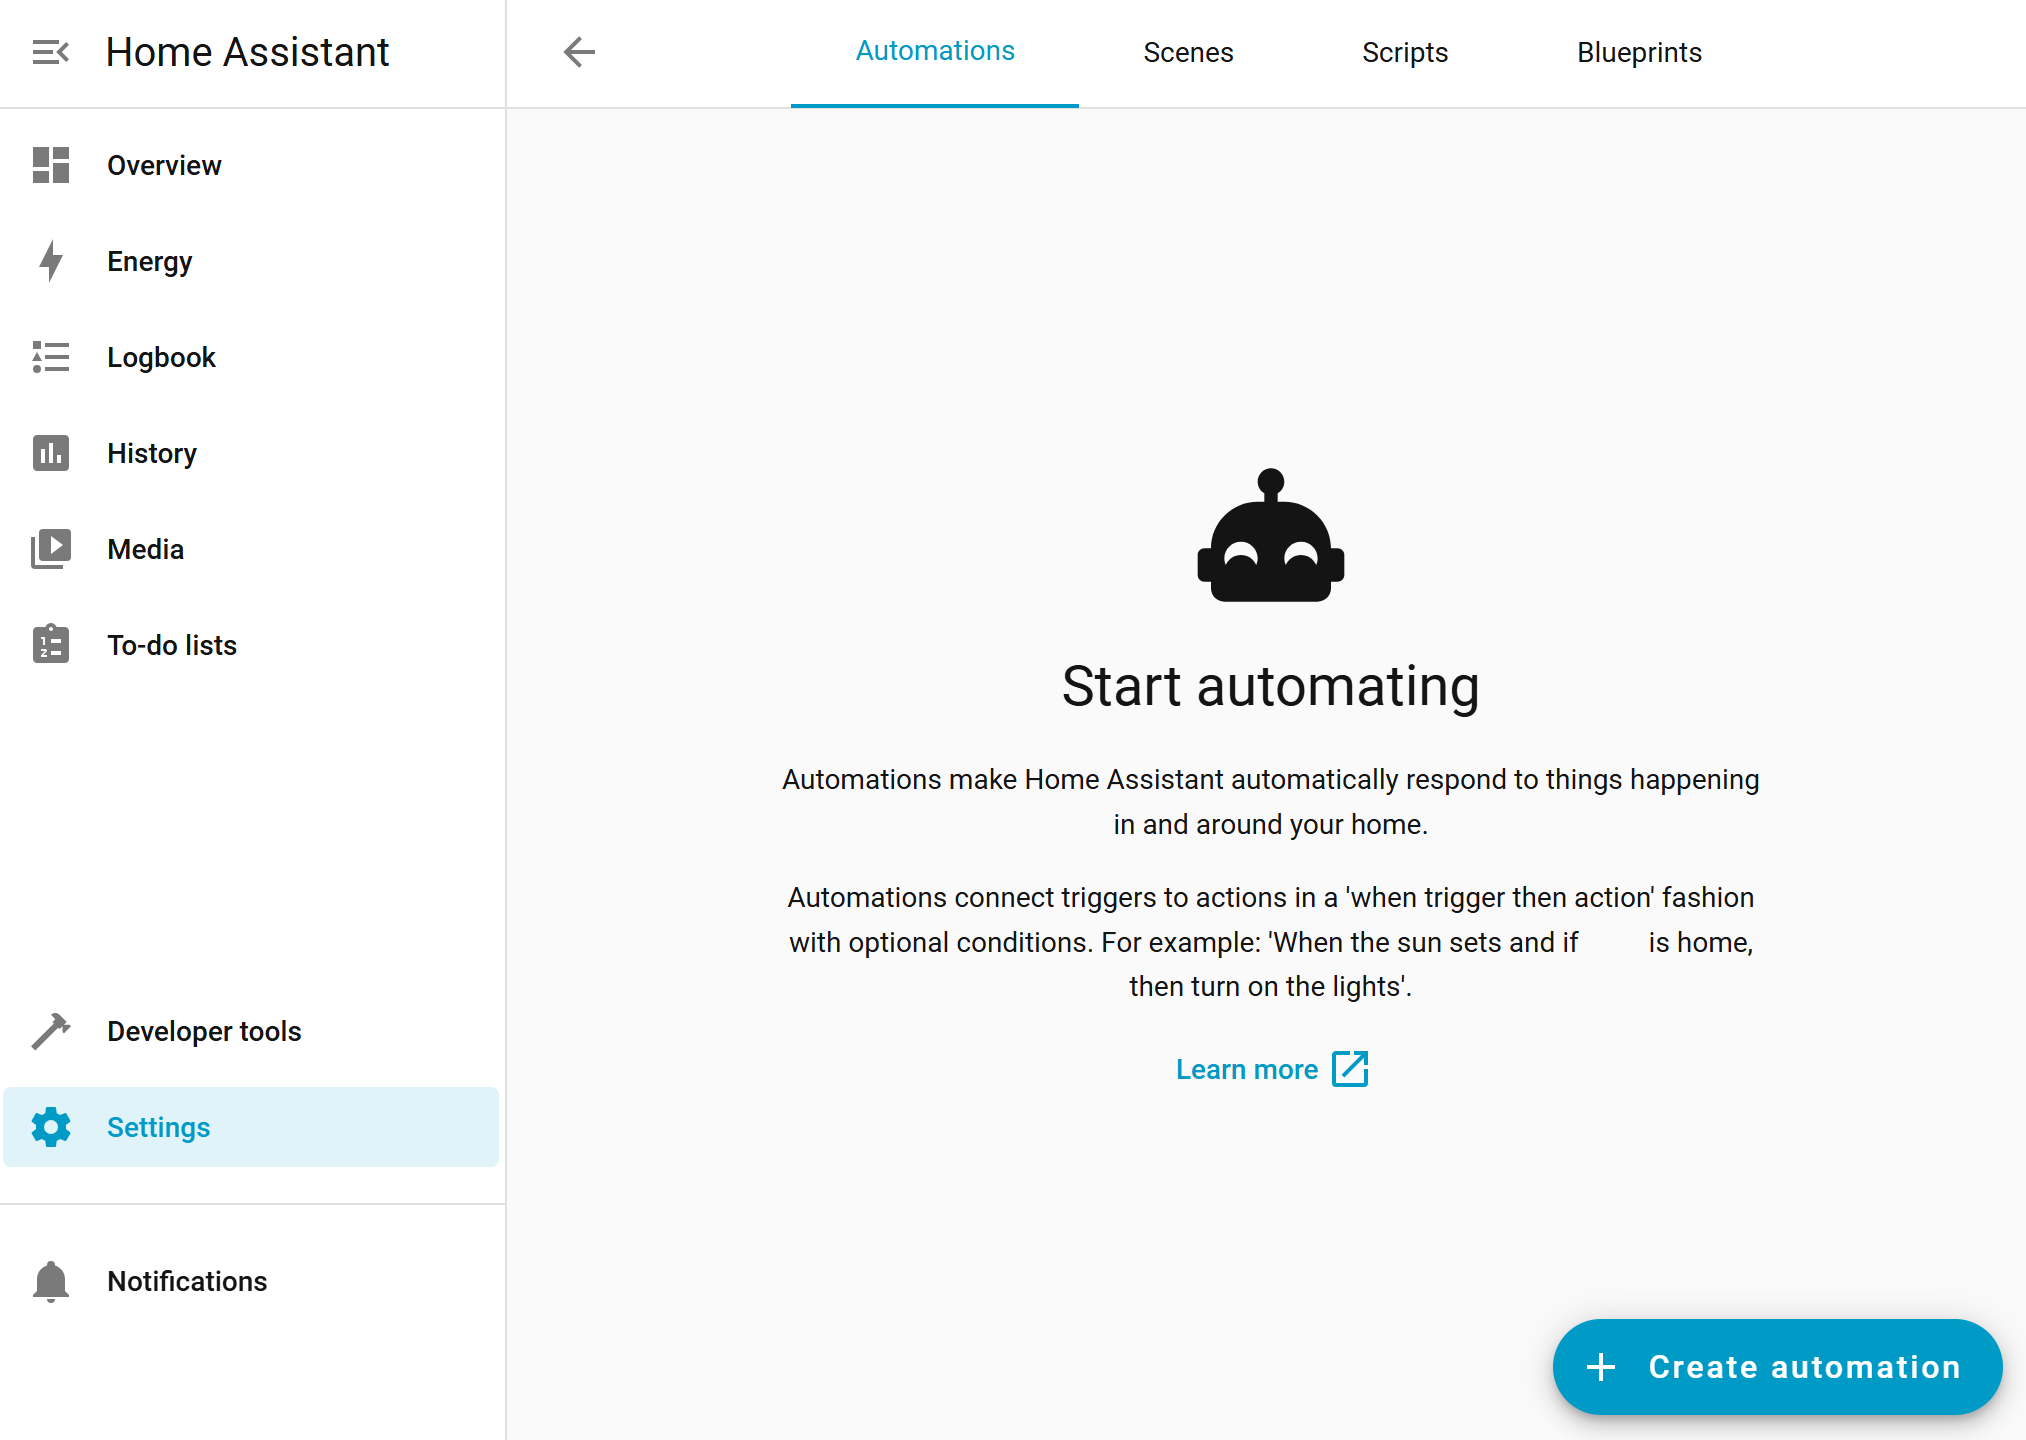
Click the button in the lower right corner + Create automation.
-
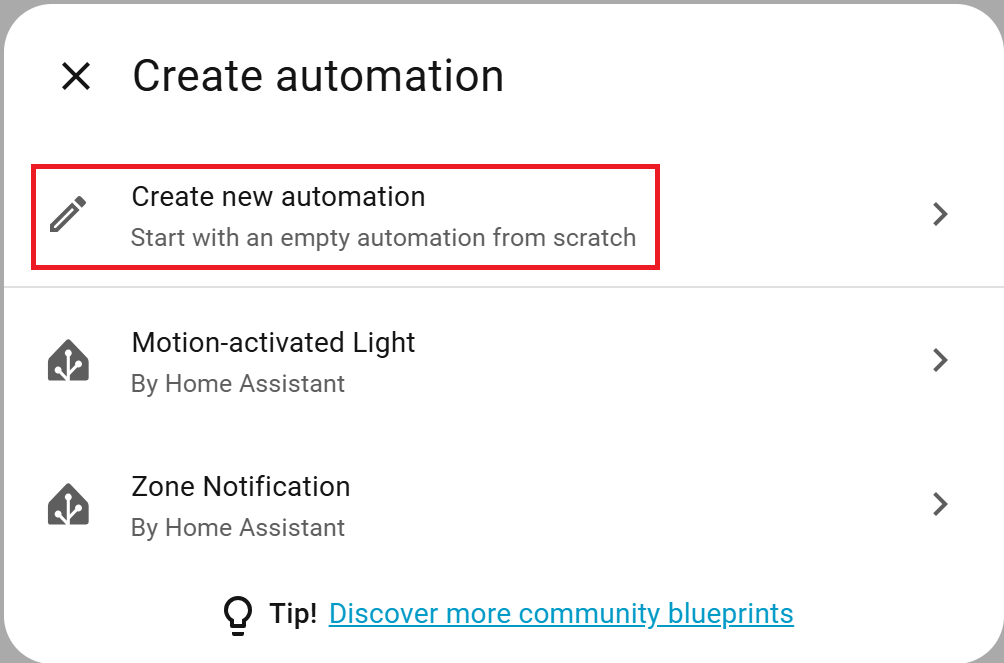
Select Create new automation.
-
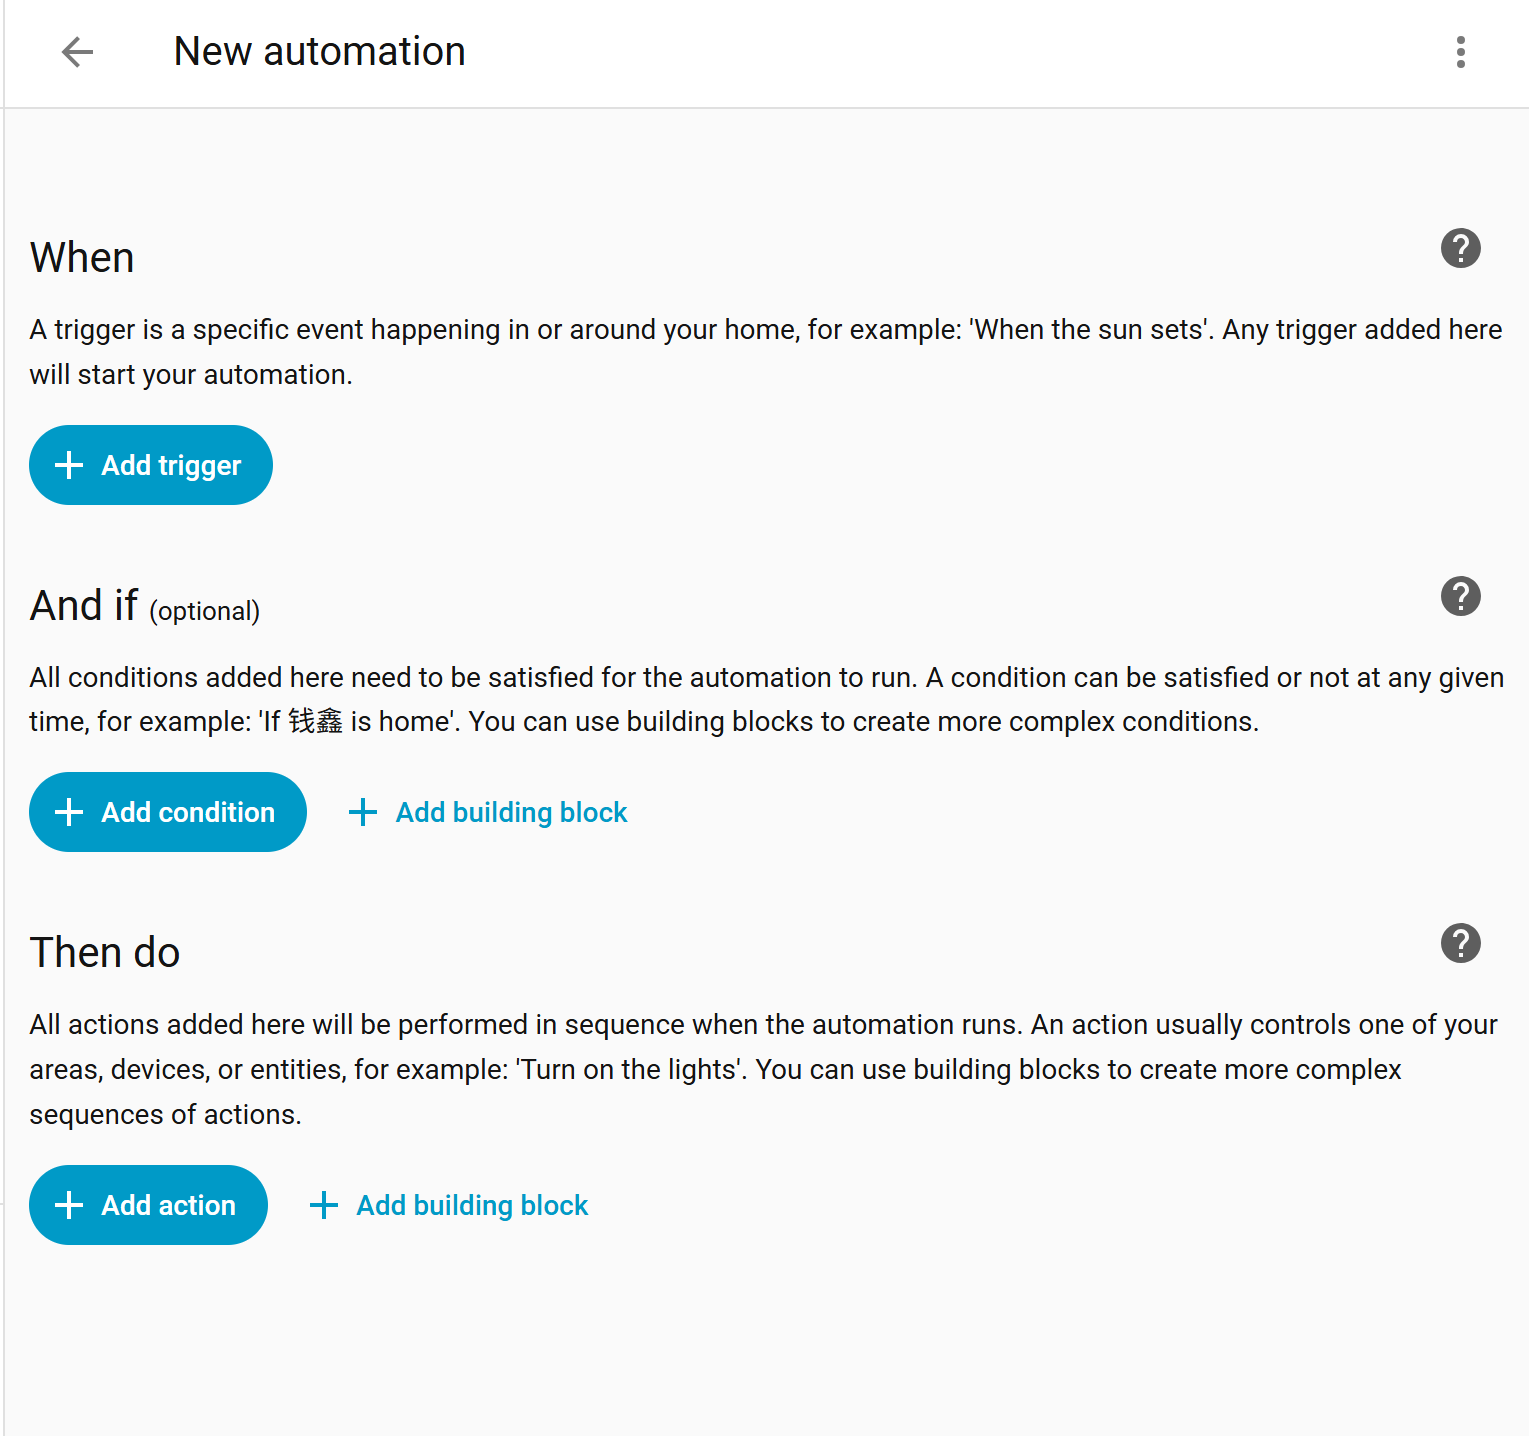
Click + Add Trigger and configure the trigger event based on your requirements.
-
Click + Add Action to configure the device action.
-
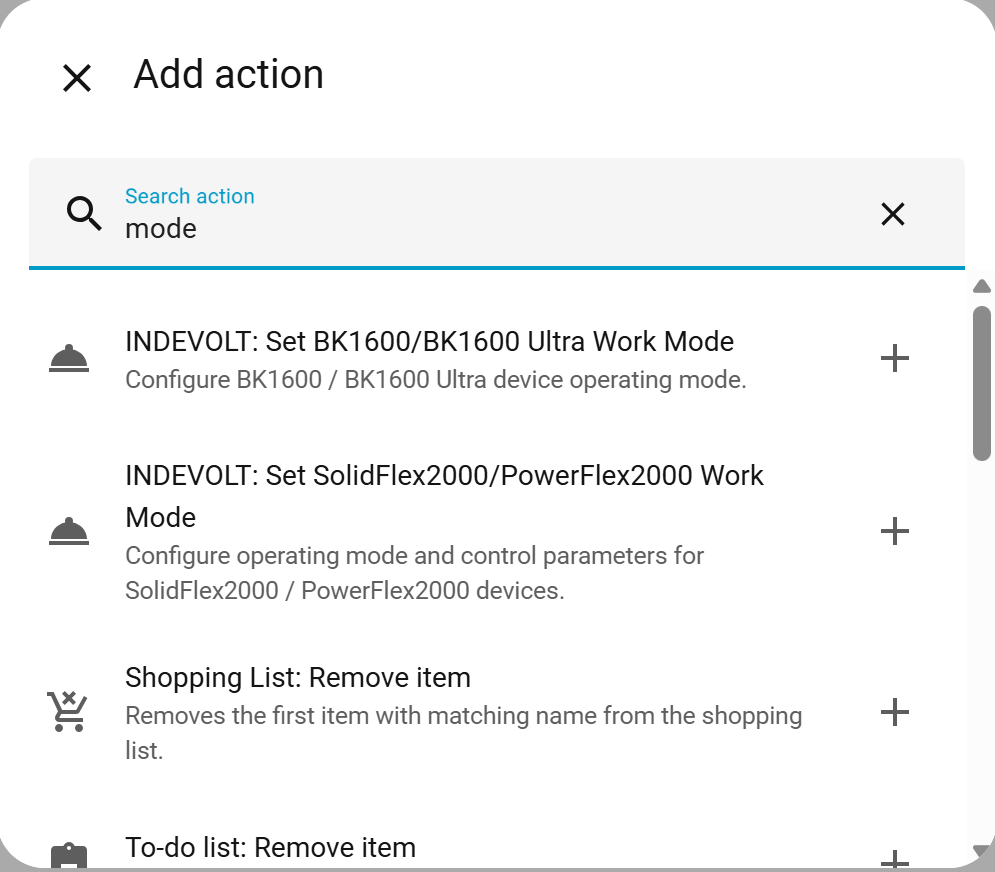
Search for mode and select Set SolidFlex2000/PowerFlex2000 Work Mode (as an example).
-
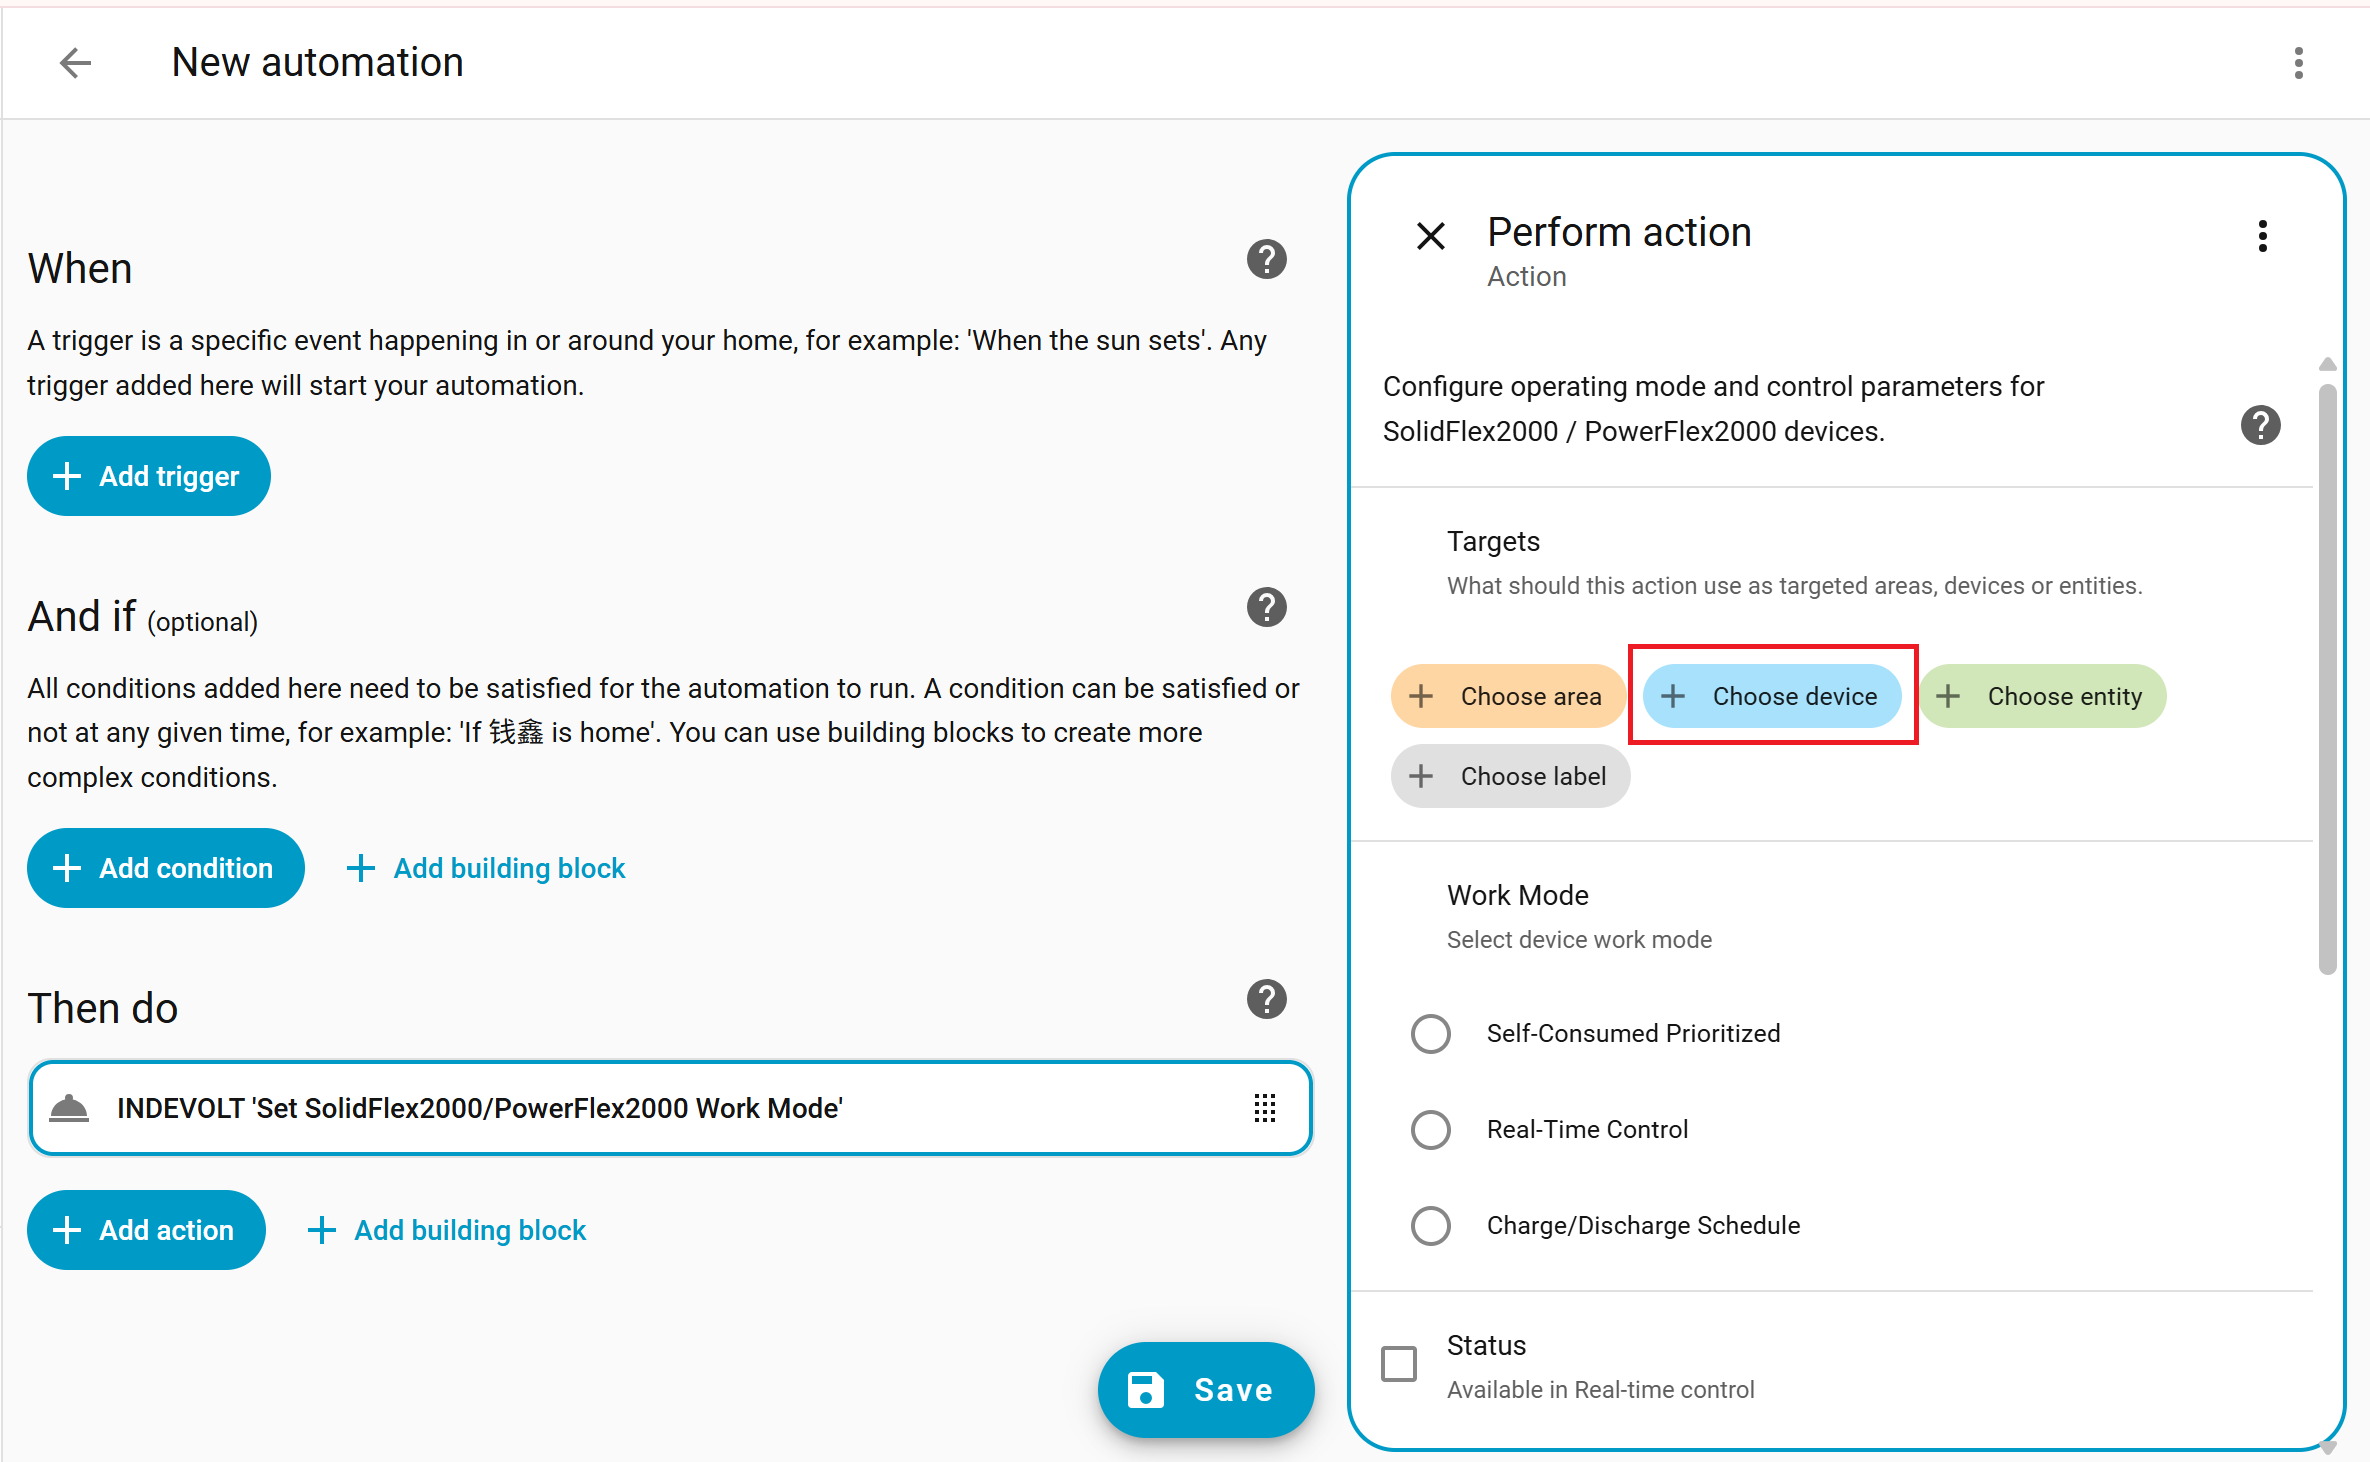
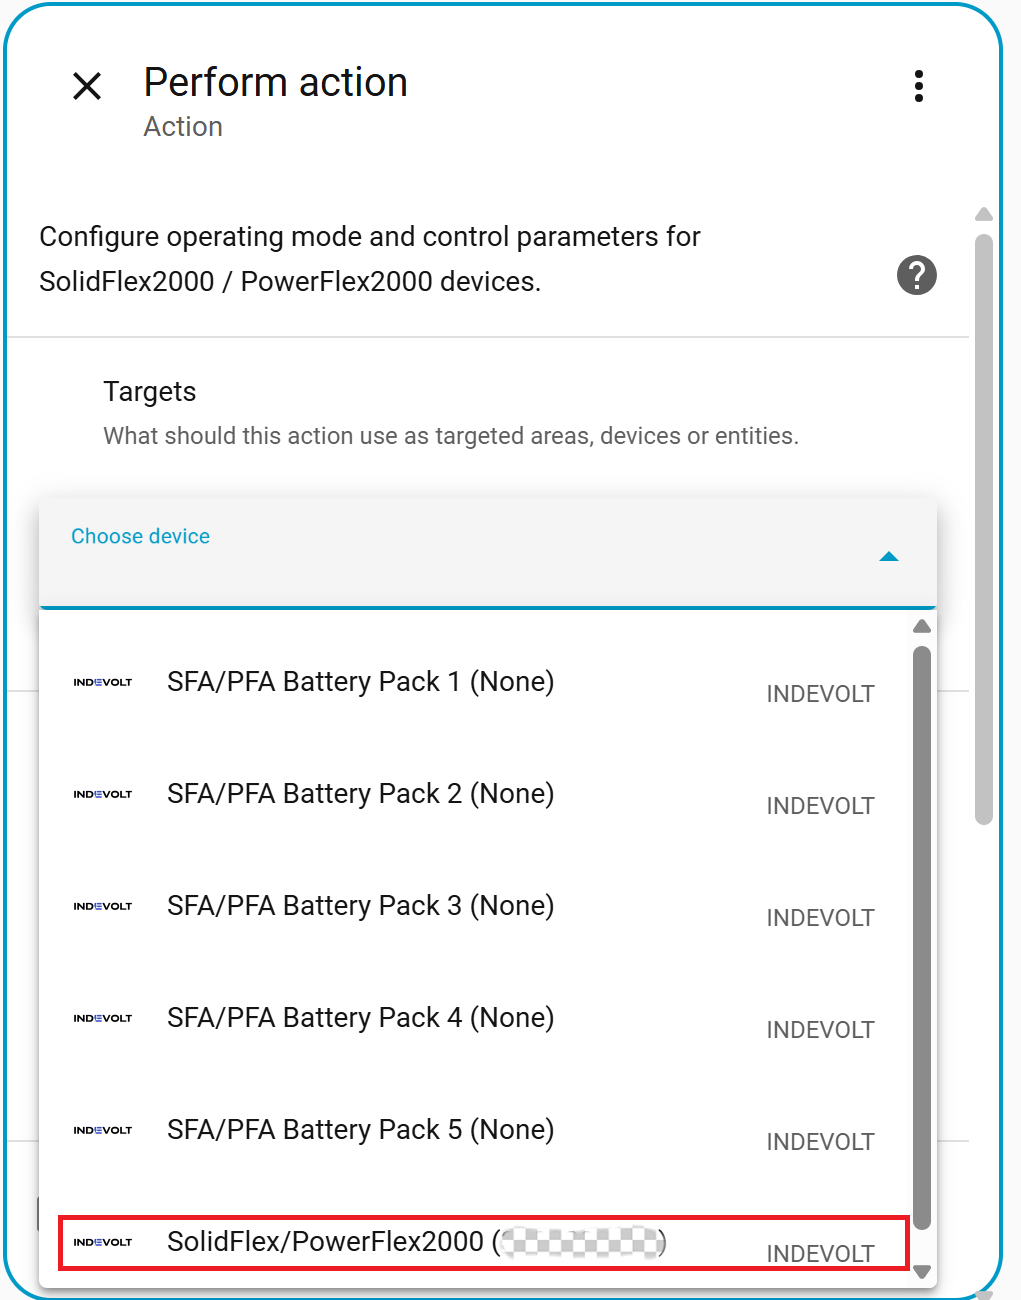
In the Target section, click + Choose Device and select your device from the list.
-
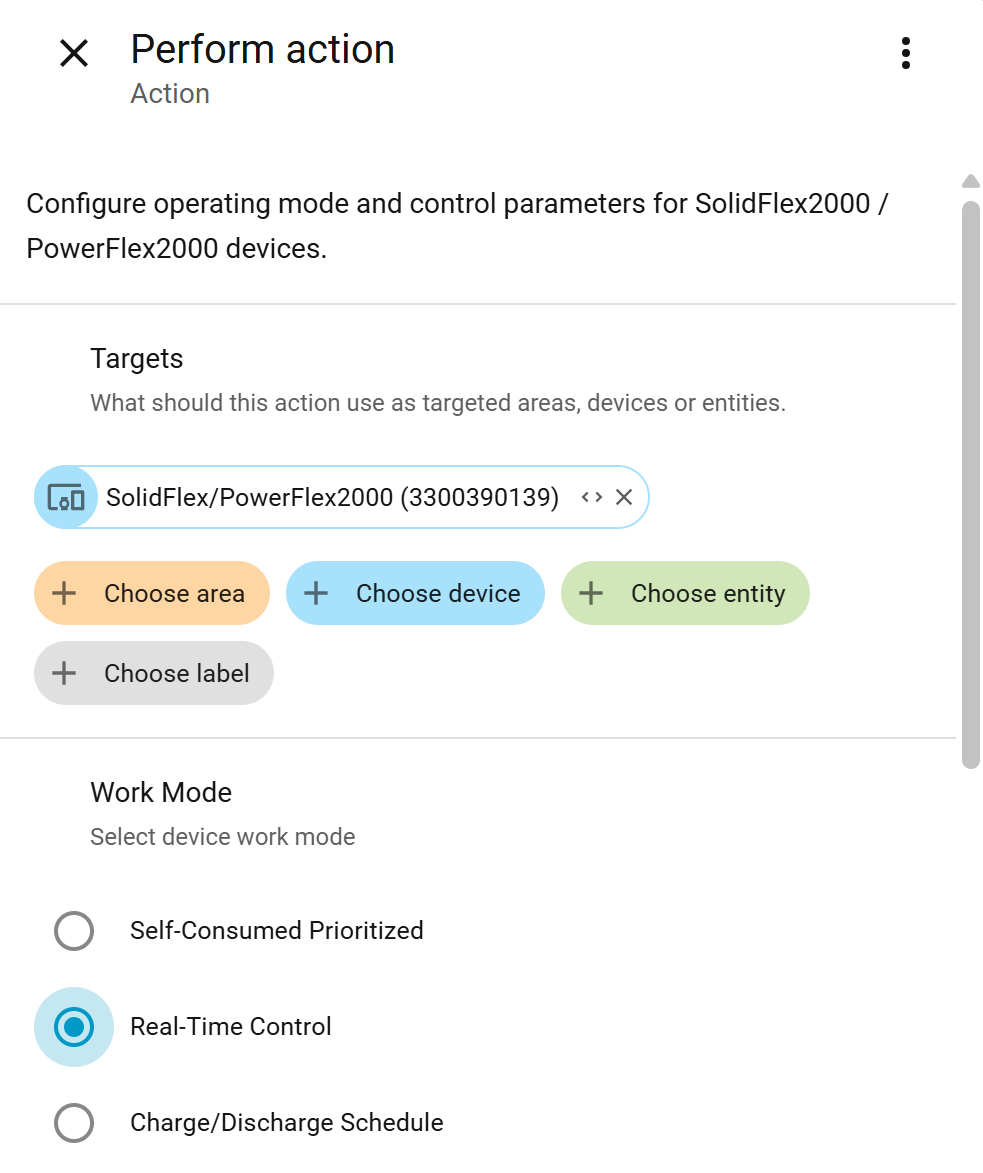
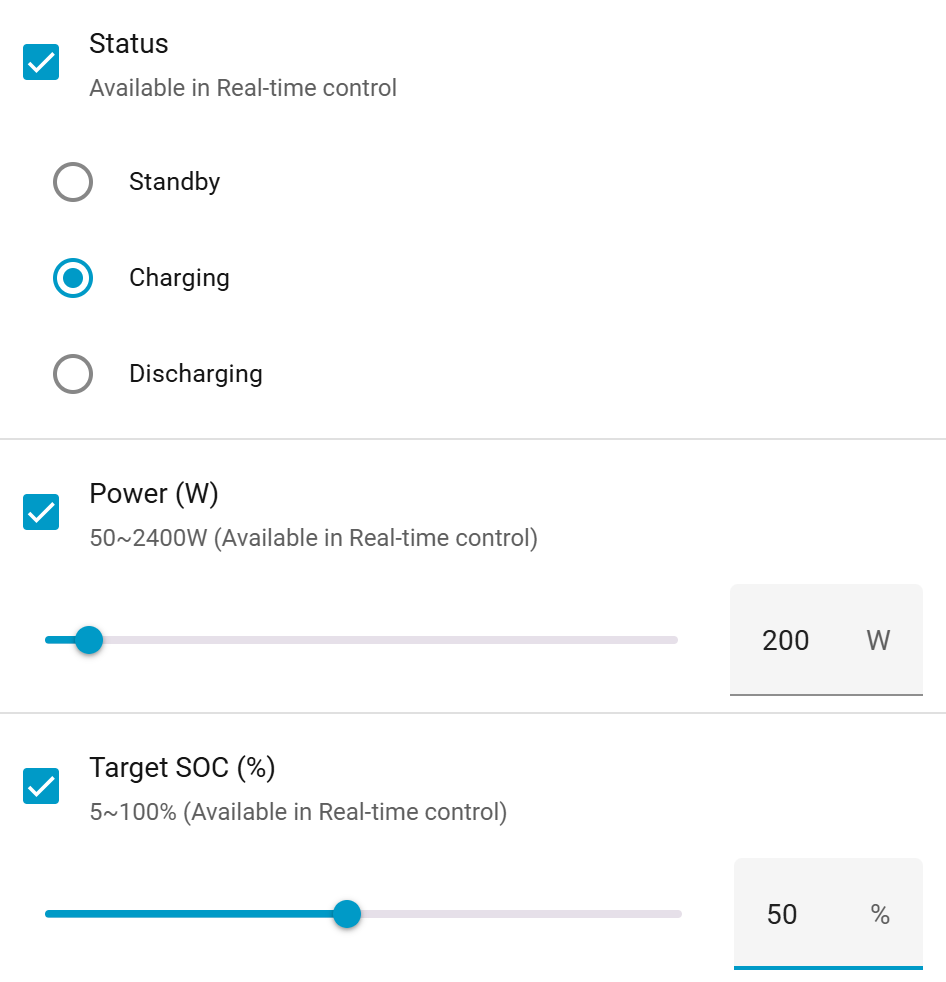
In the Work Mode section, choose Real-Time Control, then configure Status, Power, and Target SOC as needed.
-
Click Save to complete the automation setup.
FAQ
| Issue | Solution |
|---|---|
| Integration not appearing in search results | Check the folder path: custom_components/indevolt |
| Device connection failure | 1. Verify the IP address is correct. 2. Check the device network status. |
| No data available for entity | 1.Verify device power supply. 2. Check device network connectivity. 3. Check Home Assistant log error messages. |